The OpenMon Hub
Tools > MCE > OpenMon Hub, or Ctrl+Shift+H.
The Hub is the front door to the engine's editor tooling: setup, data authoring, art, importing, the online layer, and world generation, each on its own tab. Nothing here is required to ship a game — every action has a menu-item equivalent — but it is where the work is fastest, and it is the one window worth docking permanently.
Every screenshot below is a real capture of the editor, not a mockup.
Welcome — setup status and the mode switch
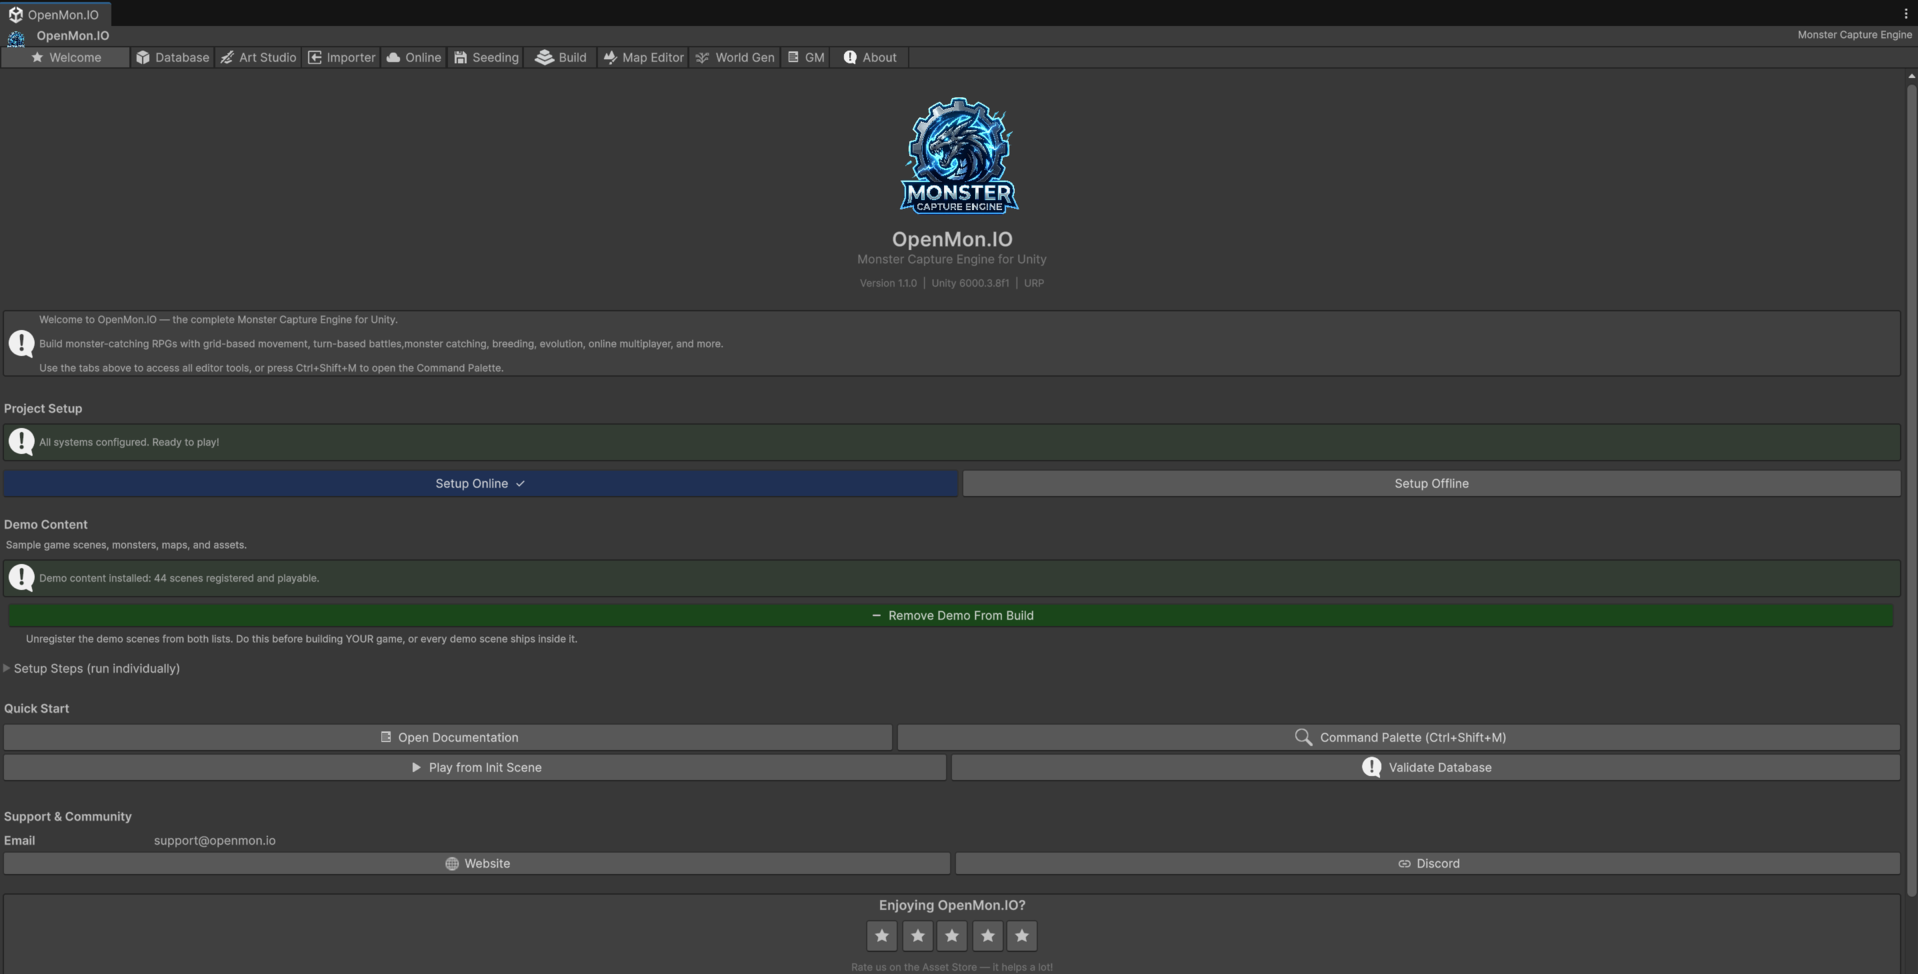
The first thing to read is the Project Setup bar. Green means the layers, render pipeline, build settings and player settings are all configured and you can press Play.
Underneath it are the two buttons that decide how the whole project behaves:
The blue button is the mode you are currently in. In the capture above the project is Offline, so Setup Offline is blue and carries a check. Pressing the grey one switches, and switching is not just a flag — it flips the scripting define, registers the scenes that mode needs, points the configuration at the right target, and seeds the data the mode requires. One press, no manual steps.
Online mode ships in the Pro and Source tiers. In Lite and Basic the button is disabled and its tooltip says so; the rest of the tab works normally.
The rest of the tab is quick access: open the documentation, the Command Palette (Ctrl+Shift+M), play straight from the init scene, or validate the database.
Database — where your game's content lives
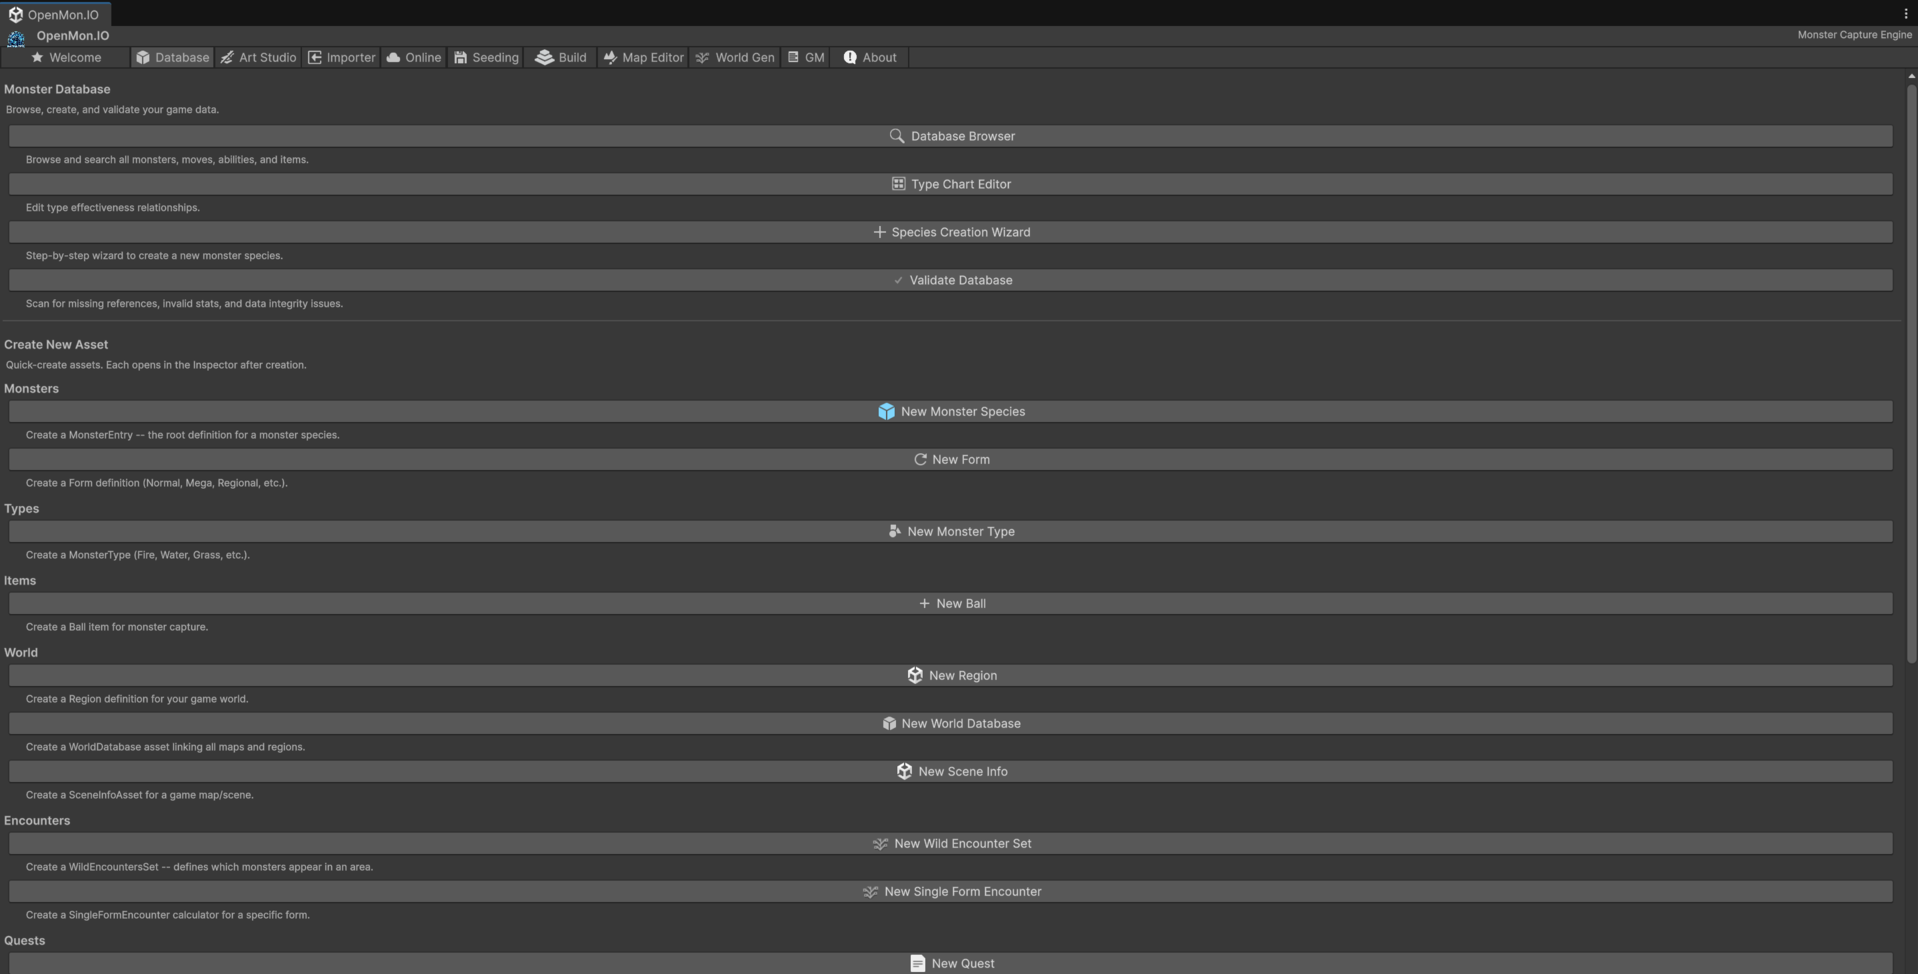
Two halves. The top browses and checks what exists — Database Browser to search every monster, move, ability and item; Type Chart Editor for the effectiveness matrix; Validate Database to scan for missing references, invalid stats and integrity problems.
The bottom half creates. Each button makes one asset of one kind and opens it in
the Inspector, so you can go from empty project to a species, a type, a ball, a
region, an encounter table or a quest without hunting through
Create > MCE > ... menus.
Validate Database is the one to run before every build. It is the difference between finding a broken reference now and finding it in a player's crash.
Art Studio — sprites and monster art
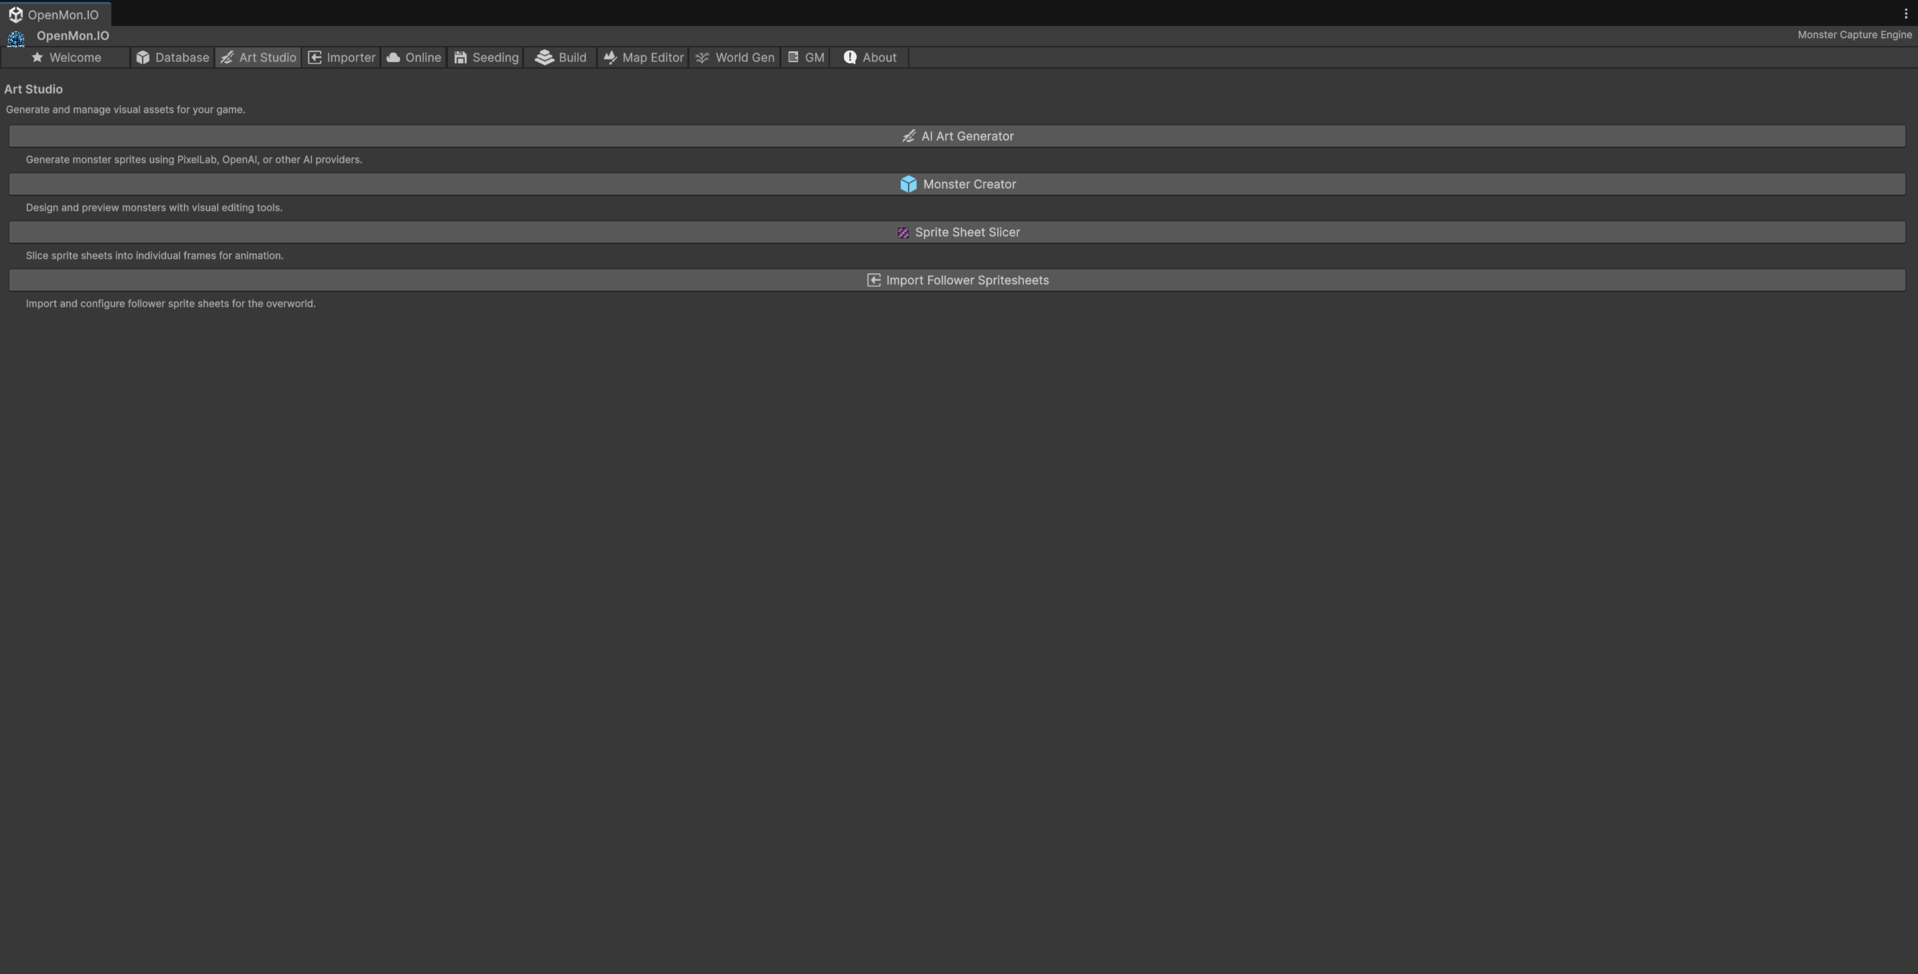
Four tools for getting art into the engine: generate monster sprites through an AI provider, design and preview a monster visually, slice a sprite sheet into animation frames, and import follower sheets for the overworld.
Covered in depth in Art Studio.
Importer — bringing in an existing Essentials project
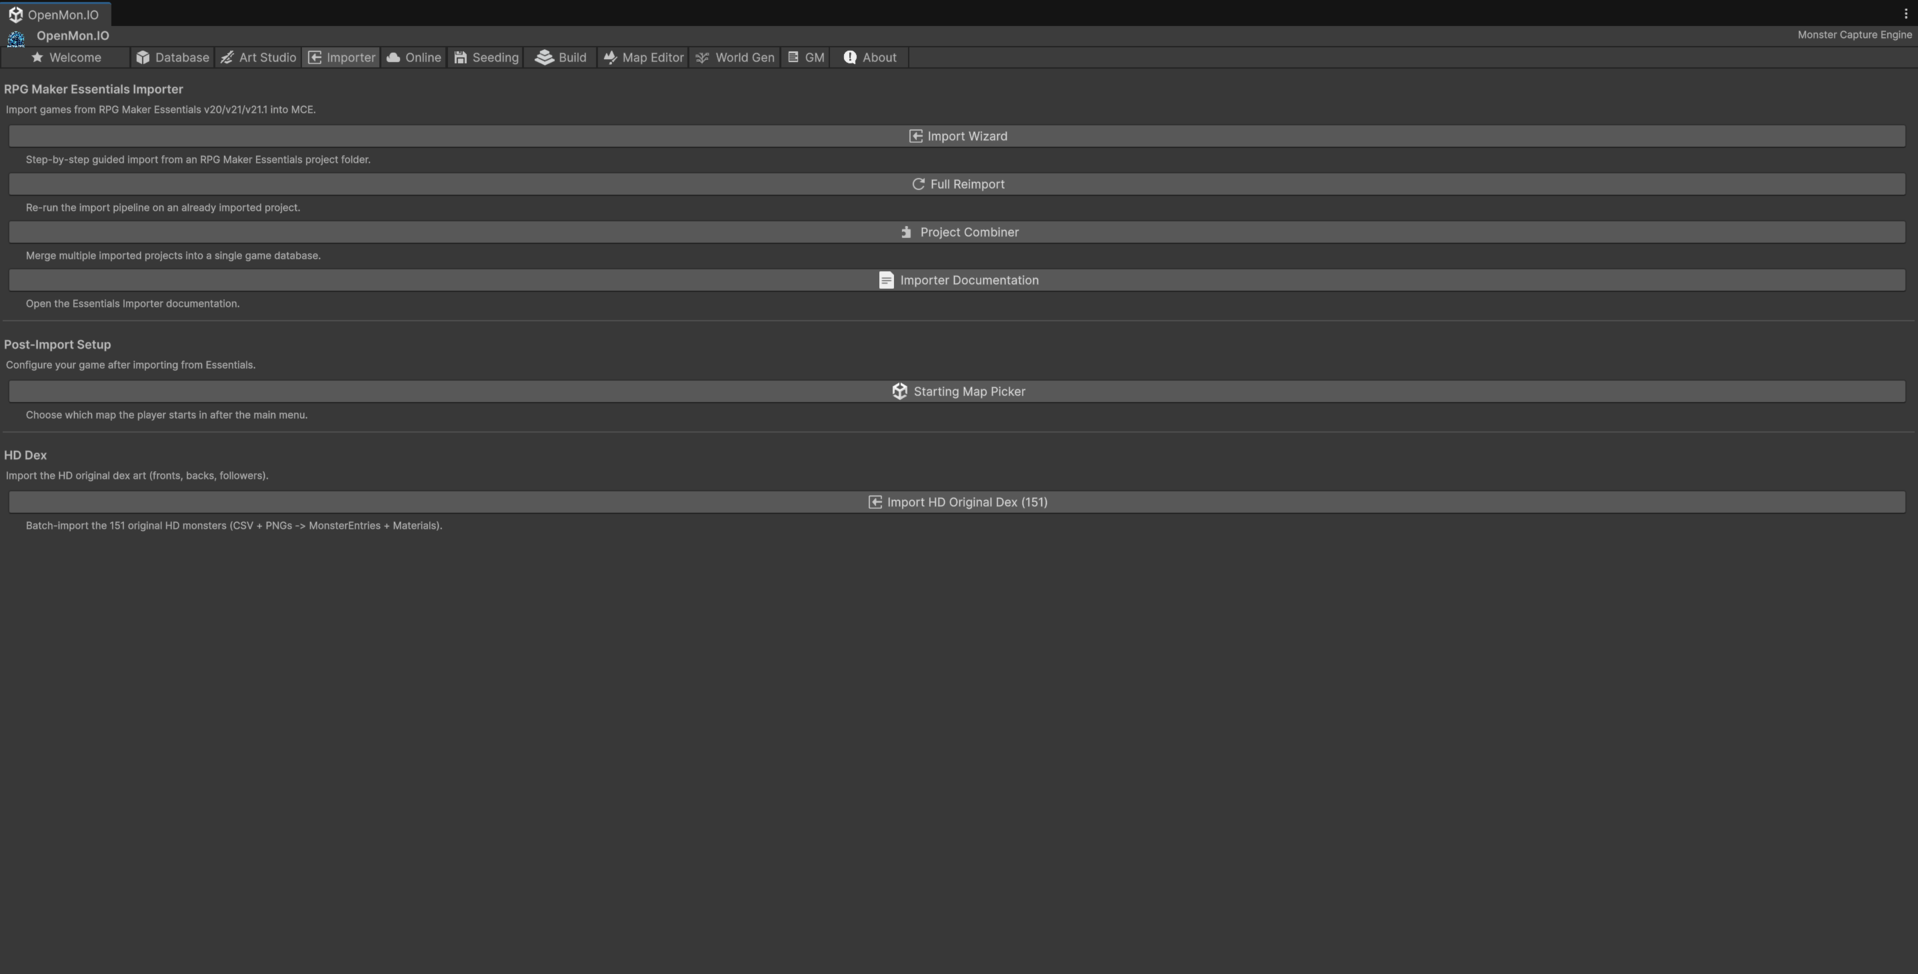
Imports RPG Maker Essentials v20 / v21 / v21.1 projects. Import Wizard is the guided path; Full Reimport re-runs the pipeline over a project you have already brought in; Project Combiner merges several imported projects into one database.
Starting Map Picker is easy to miss and you will want it: it chooses which map the player spawns on after the main menu, which is the step between "the import finished" and "the game is playable".
Full walkthrough in Import from Pokémon Essentials.
The importer ships in the Source tier.
Online — the multiplayer layer and its server
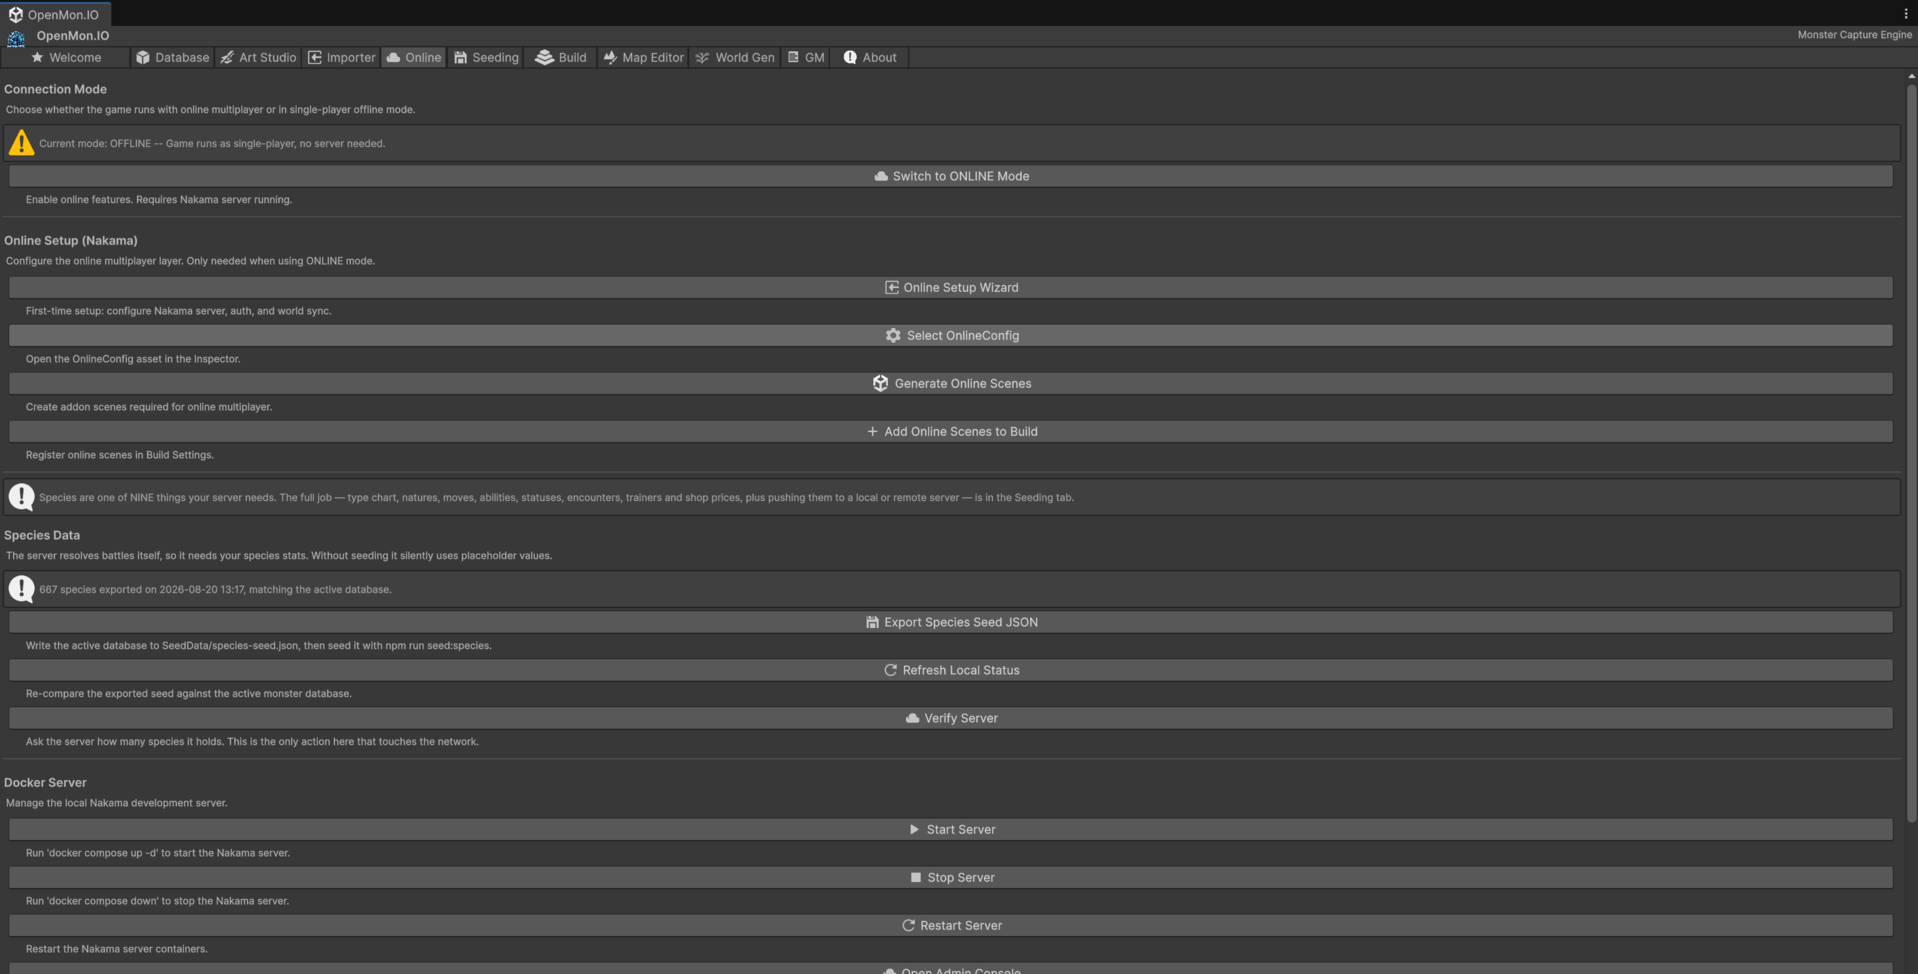
Top to bottom it follows the order you actually need things in.
Connection Mode states plainly which mode the project is in and offers the
switch. Online Setup (Nakama) is first-time configuration — the wizard, the
OnlineConfig asset, and generating plus registering the addon scenes.
Species Data is a shortcut to one part of a bigger job. Species are one of nine things the server needs, and the whole job lives in its own tab — see Seeding below. The status line here reports what was last exported and whether it still matches the active database — above, 667 species.
Docker Server drives the local development server: start, stop, restart, open the admin console, tail the logs.
Setup guide: Online Setup. Seeding in detail: Species Seeding.
The online layer ships in the Pro and Source tiers.
Seeding — teaching your server your game
Online play is server-authoritative: the server decides damage, captures and rewards. It cannot be the authority over content it has never seen, so before anyone plays you have to hand it your game's data. That is what this tab does, in four steps.
1. Export seed files runs every exporter and writes JSON to SeedData/. It
touches no network. What it reports is the part that matters: for each family it
shows how many rows it emitted and how many it recognised but could not
emit, with the reason. A move whose rule the server does not implement is
listed here rather than quietly dropped — your server will refuse that move by
name, which is deliberate. A server missing a rule is recoverable; a server
confident in a wrong rule is not.
2. Where it will be written reads the host and port out of your
OnlineConfig and says, before anything is sent, whether that is this machine
or somewhere else. It also names where the HTTP key came from.
The key is the server's runtime http_key — not the ServerKey your game
clients use; they are different values and mixing them up answers 401. Type it
in the field and it is stored per machine, in ProjectSettings/. It is never
written inside Assets/, so it cannot travel inside a .unitypackage, and it is
git-ignored, so it cannot reach a repository. Leave the field empty to use the
NAKAMA_HTTP_KEY environment variable instead.
3. Push to the server sends the files. Against your own machine it just goes. Against any other host the button stays disabled until you tick a box that names the host — seeding overwrites what a live server holds, and against a server other people can reach that has to be a decision, not a side effect of a click. The box clears itself if the target changes. Large catalogs are split into chunks automatically; the move catalog does not fit in one request.
4. Ask the server what it has calls the server's own status RPC with the same key the push used, and reports what it says is still missing.
World Gen — generating a region
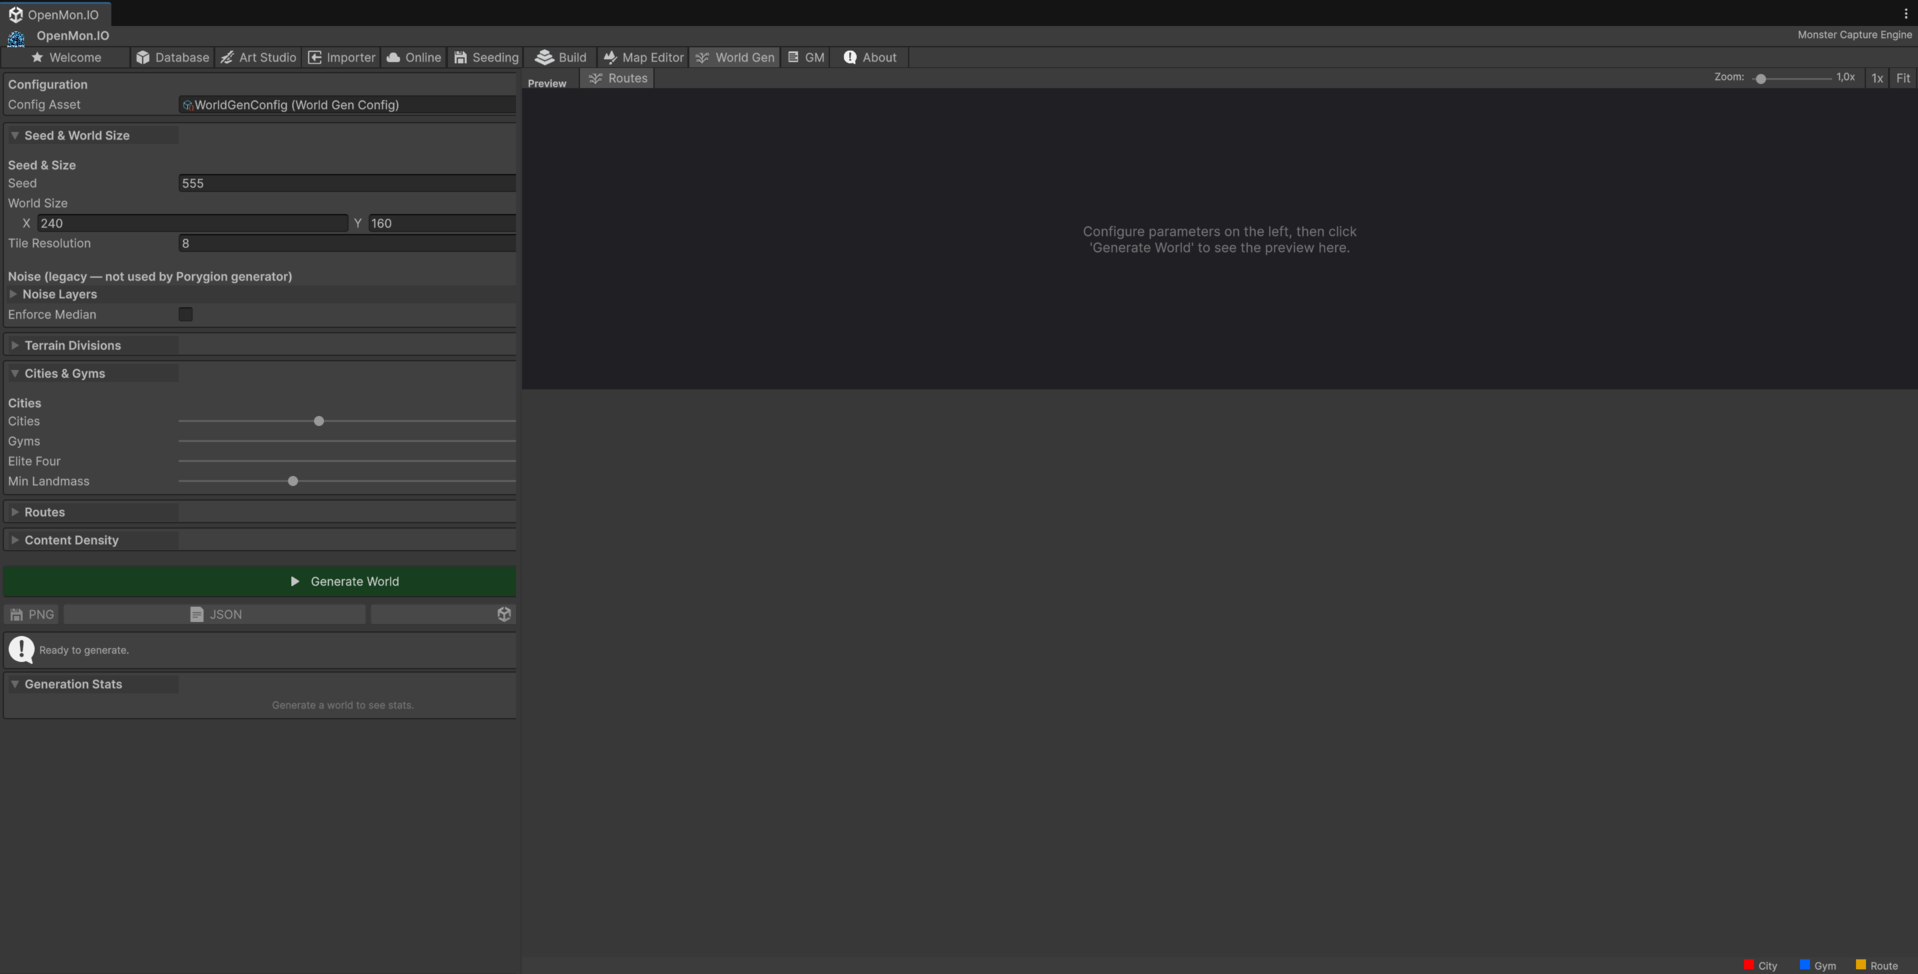
Procedural region generation. Set a seed and world size, tune how many cities, gyms and Elite Four locations to place, adjust routes and content density, then Generate World and read the result in the preview pane. PNG and JSON export sit under the button.
The seed makes it reproducible: same seed and same parameters give the same region, so a layout you like can be regenerated exactly rather than saved by hand.
About — versions and links
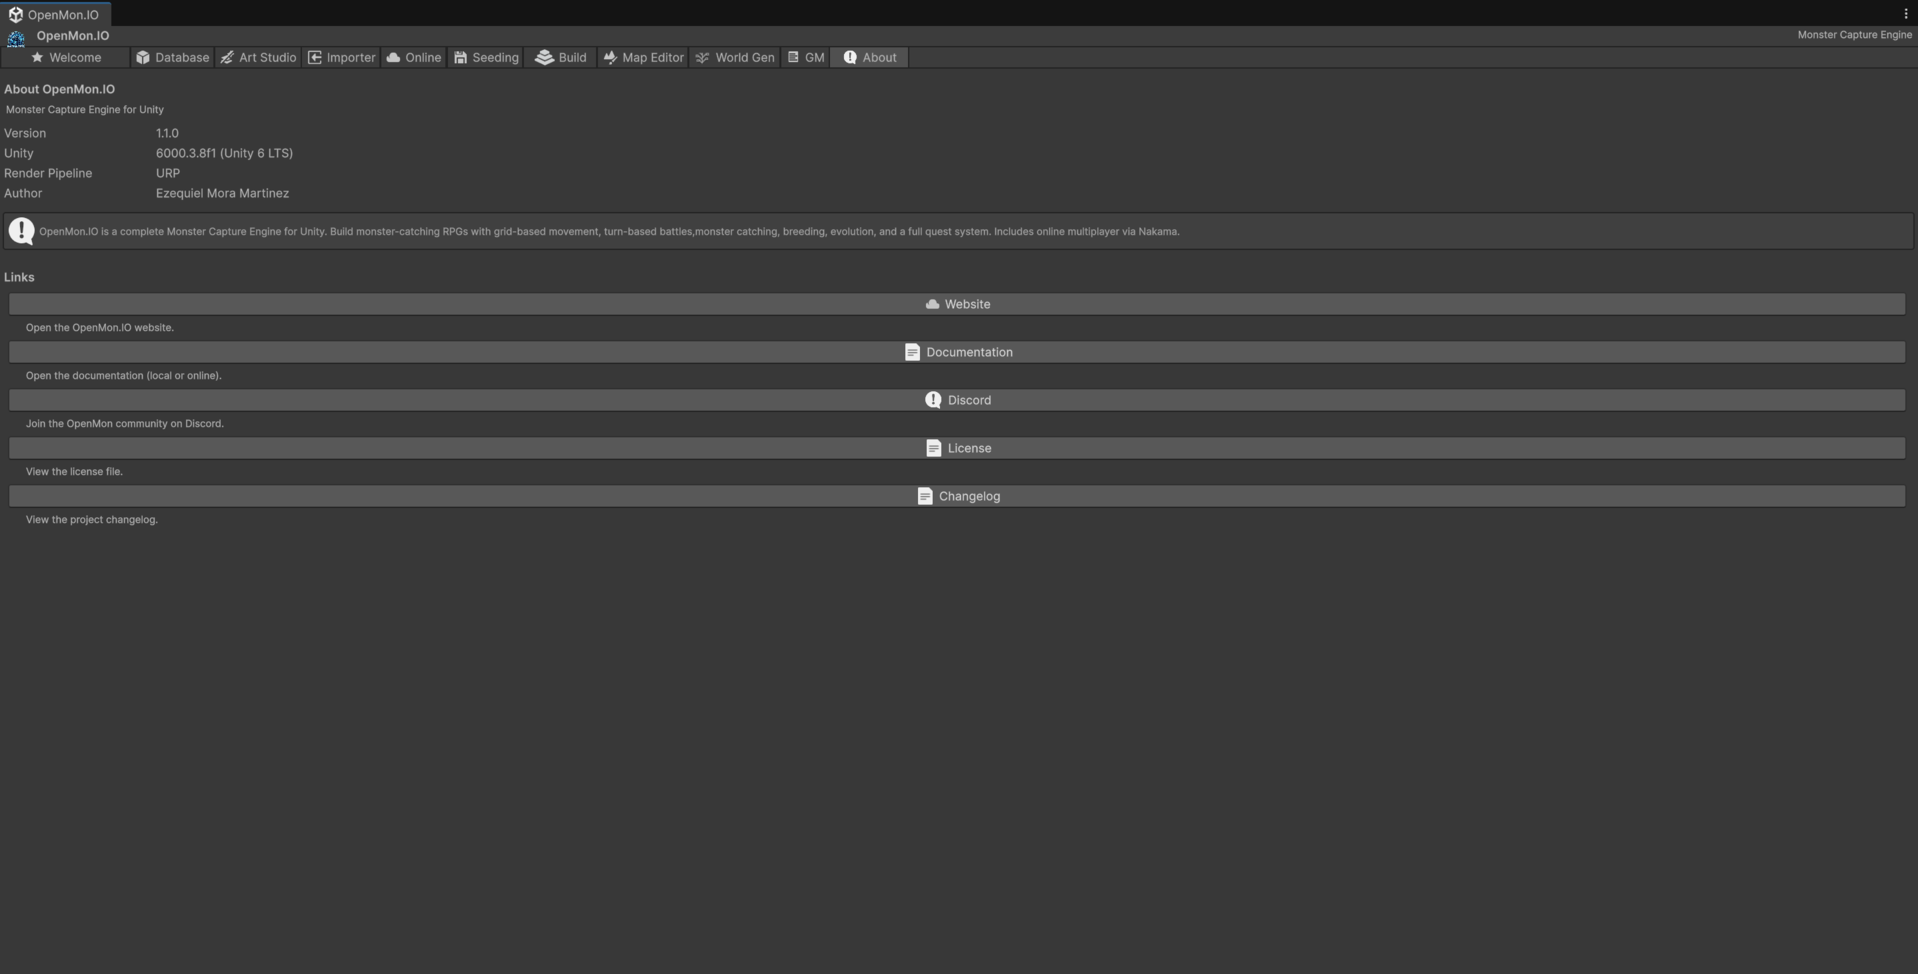
Engine version, Unity version and render pipeline, plus links to the website, these docs, the Discord, the licence and the changelog.
Worth knowing where it is for one reason: when you report a problem, the version line here is the first thing anyone will ask for.
The two tabs not shown here
The Hub has ten tabs. Two are deliberately absent from this page:
- Map Editor — it is a whole workflow rather than a panel of buttons, and it has its own guide: Map Editor.
- Build — release tooling used to produce the distributable packages themselves. It does not appear in any tier you can buy, so documenting it here would only show you buttons you do not have.
Next
- First run, screen by screen — what the engine does once you press Play.
- Your first monster — authoring content with the Database tab.