First run, screen by screen
Every screenshot below was captured from a live running build, driven programmatically, not mocked up. Where a screen behaves differently from how it looks, that is called out — those notes are the reason this page exists.
Las capturas de esta página provienen del proyecto de demostración, que incluye material derivado de franquicias existentes. Es por contenido educativo y todos los derechos pertenecen a sus respectivos dueños. El motor OpenMon no distribuye ese contenido: los paquetes comerciales sólo incluyen contenido original.
The screenshots on this page come from the demonstration project, which includes franchise-derived material. This is educational content and all rights belong to their respective owners. The OpenMon engine does not distribute it — the commercial packages ship original content only.
Before you press Play: open the boot scene
This is the step that most often looks like a broken build, so it comes first.
Unity plays whichever scene is currently open in the editor, not the first entry in Build Settings. If you press Play with an empty or unsaved scene open, you get a flat blank screen and a console that may fill with null references — and none of it means anything is wrong with the engine.
Open the boot scene first:
Assets/OpenMon/Core/Game/Scenes/InitScene.unity
Then press Play. Boot takes roughly twenty seconds on a warm editor, because
MCEInitialization loads the databases before handing control to the menu.
1. Main menu
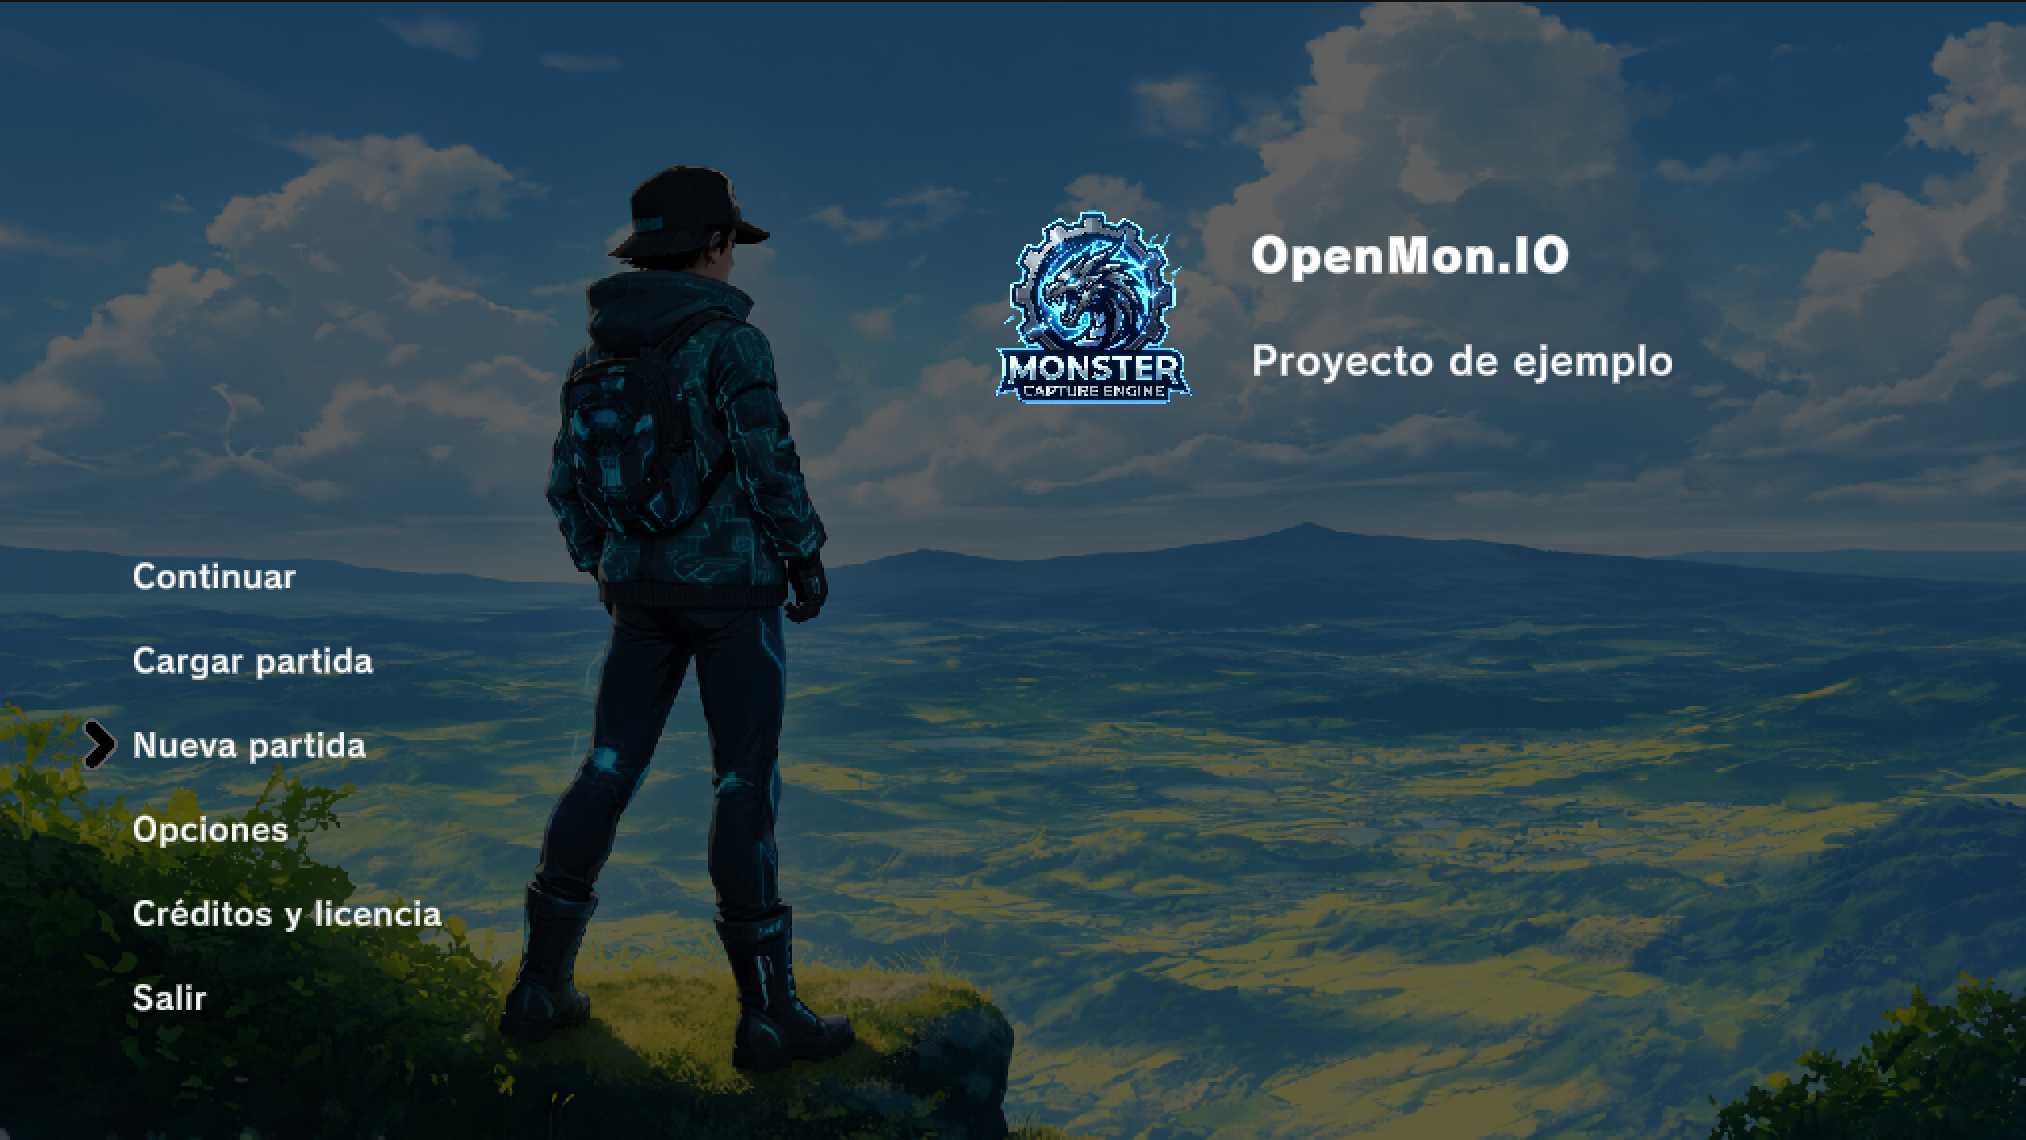
Six entries: Continuar · Cargar partida · Nueva partida · Opciones · Créditos y licencia · Salir. The menu is localised — it renders in the language configured under Options, and the capture above is a Spanish build.
There is no separate "engine splash then menu" step. Reaching this screen means the databases loaded and the scene registry resolved, so it doubles as your first integration check: if the menu draws, the engine is wired up.
2. Game start options
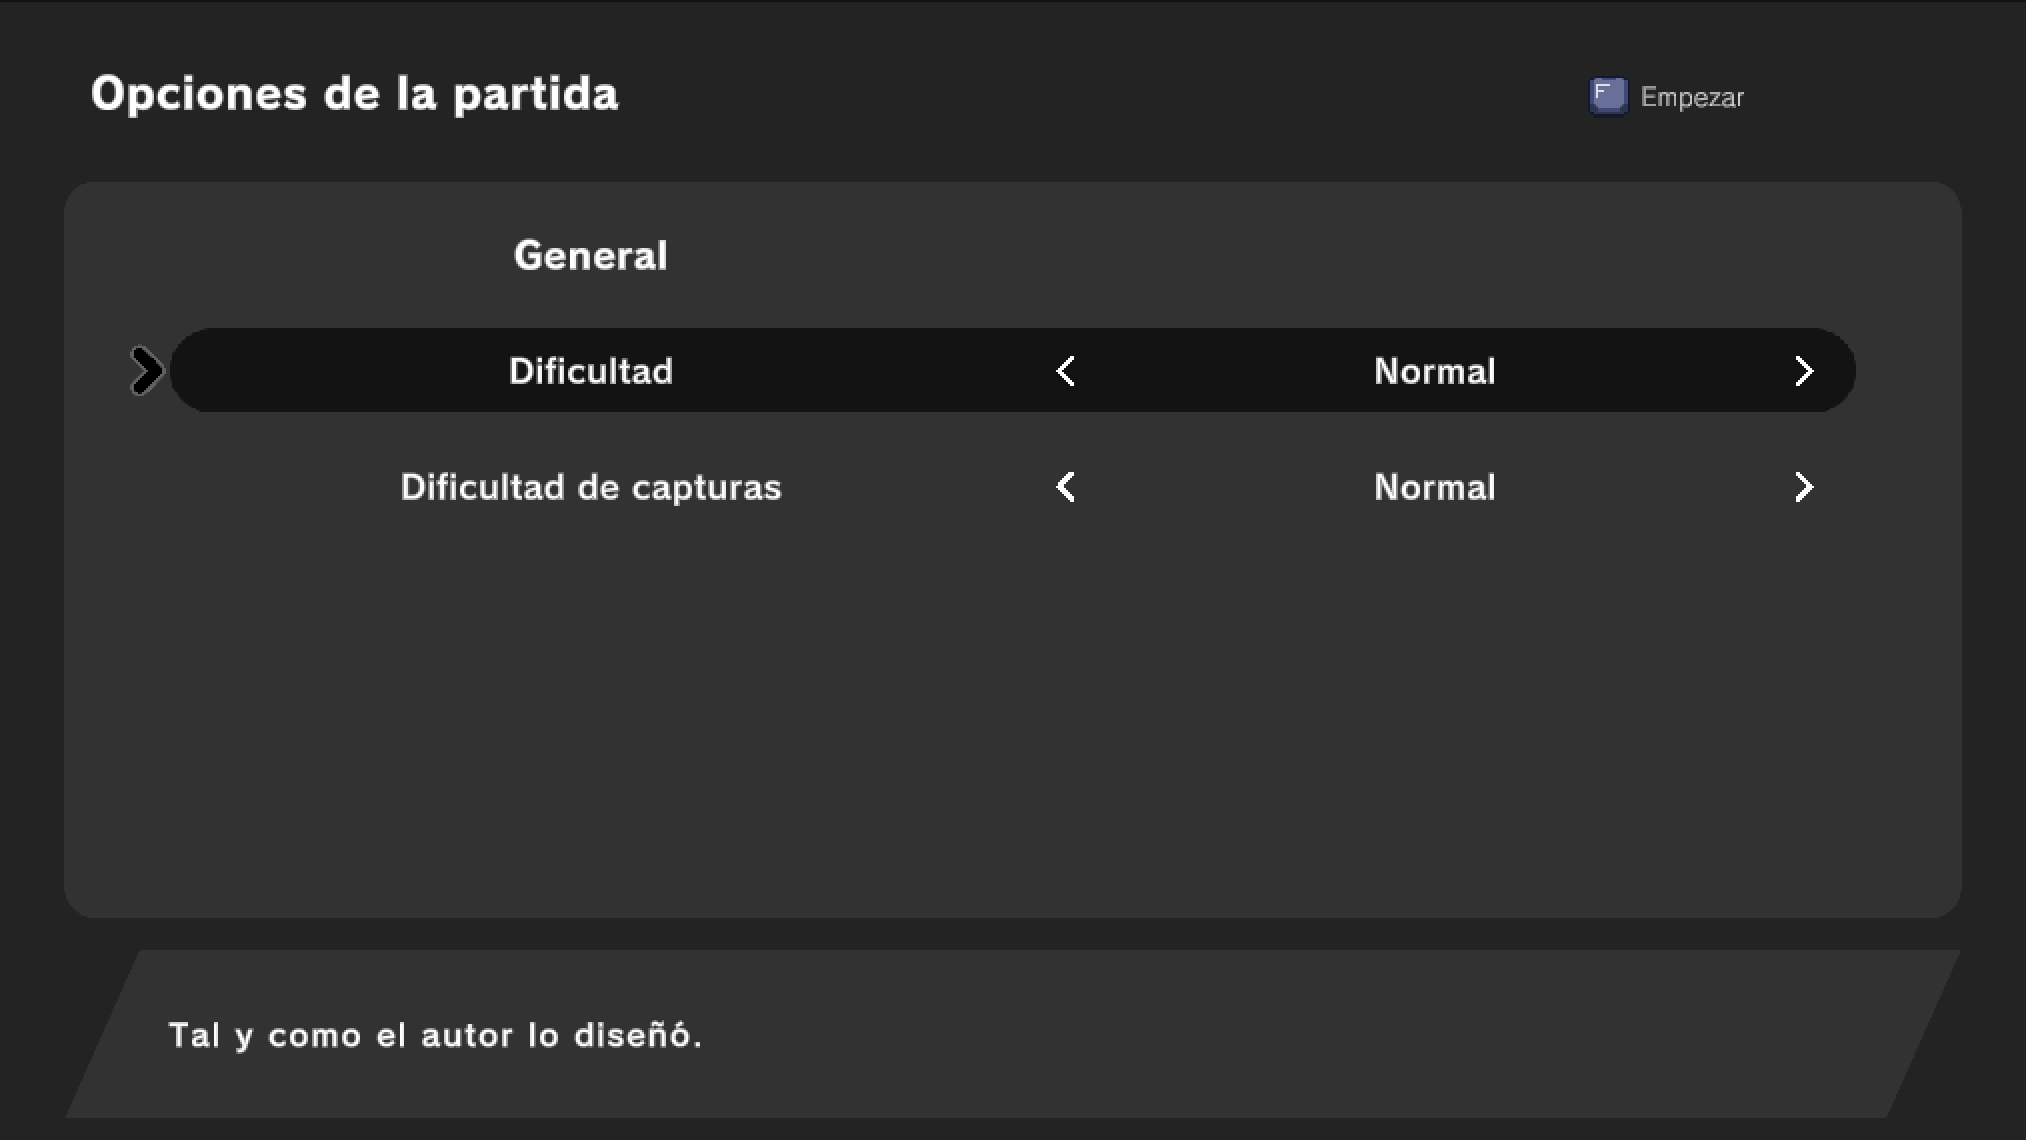
Choosing Nueva partida does not go straight to the game. It first offers the run's difficulty settings — including Dificultad de capturas, which scales capture rates independently of battle difficulty. The default reads "Tal y como el autor lo diseñó" — as the author designed it.
This screen is dismissed with F (the engine's Extra1 action), not with Enter /
Submit. Pressing Enter here does nothing visible, which reads exactly like a hang.
It matters most if you are automating the game: a test that sends Submit at this point will
sit forever on a screen that is working correctly. Send Extra1.
3. Character selection
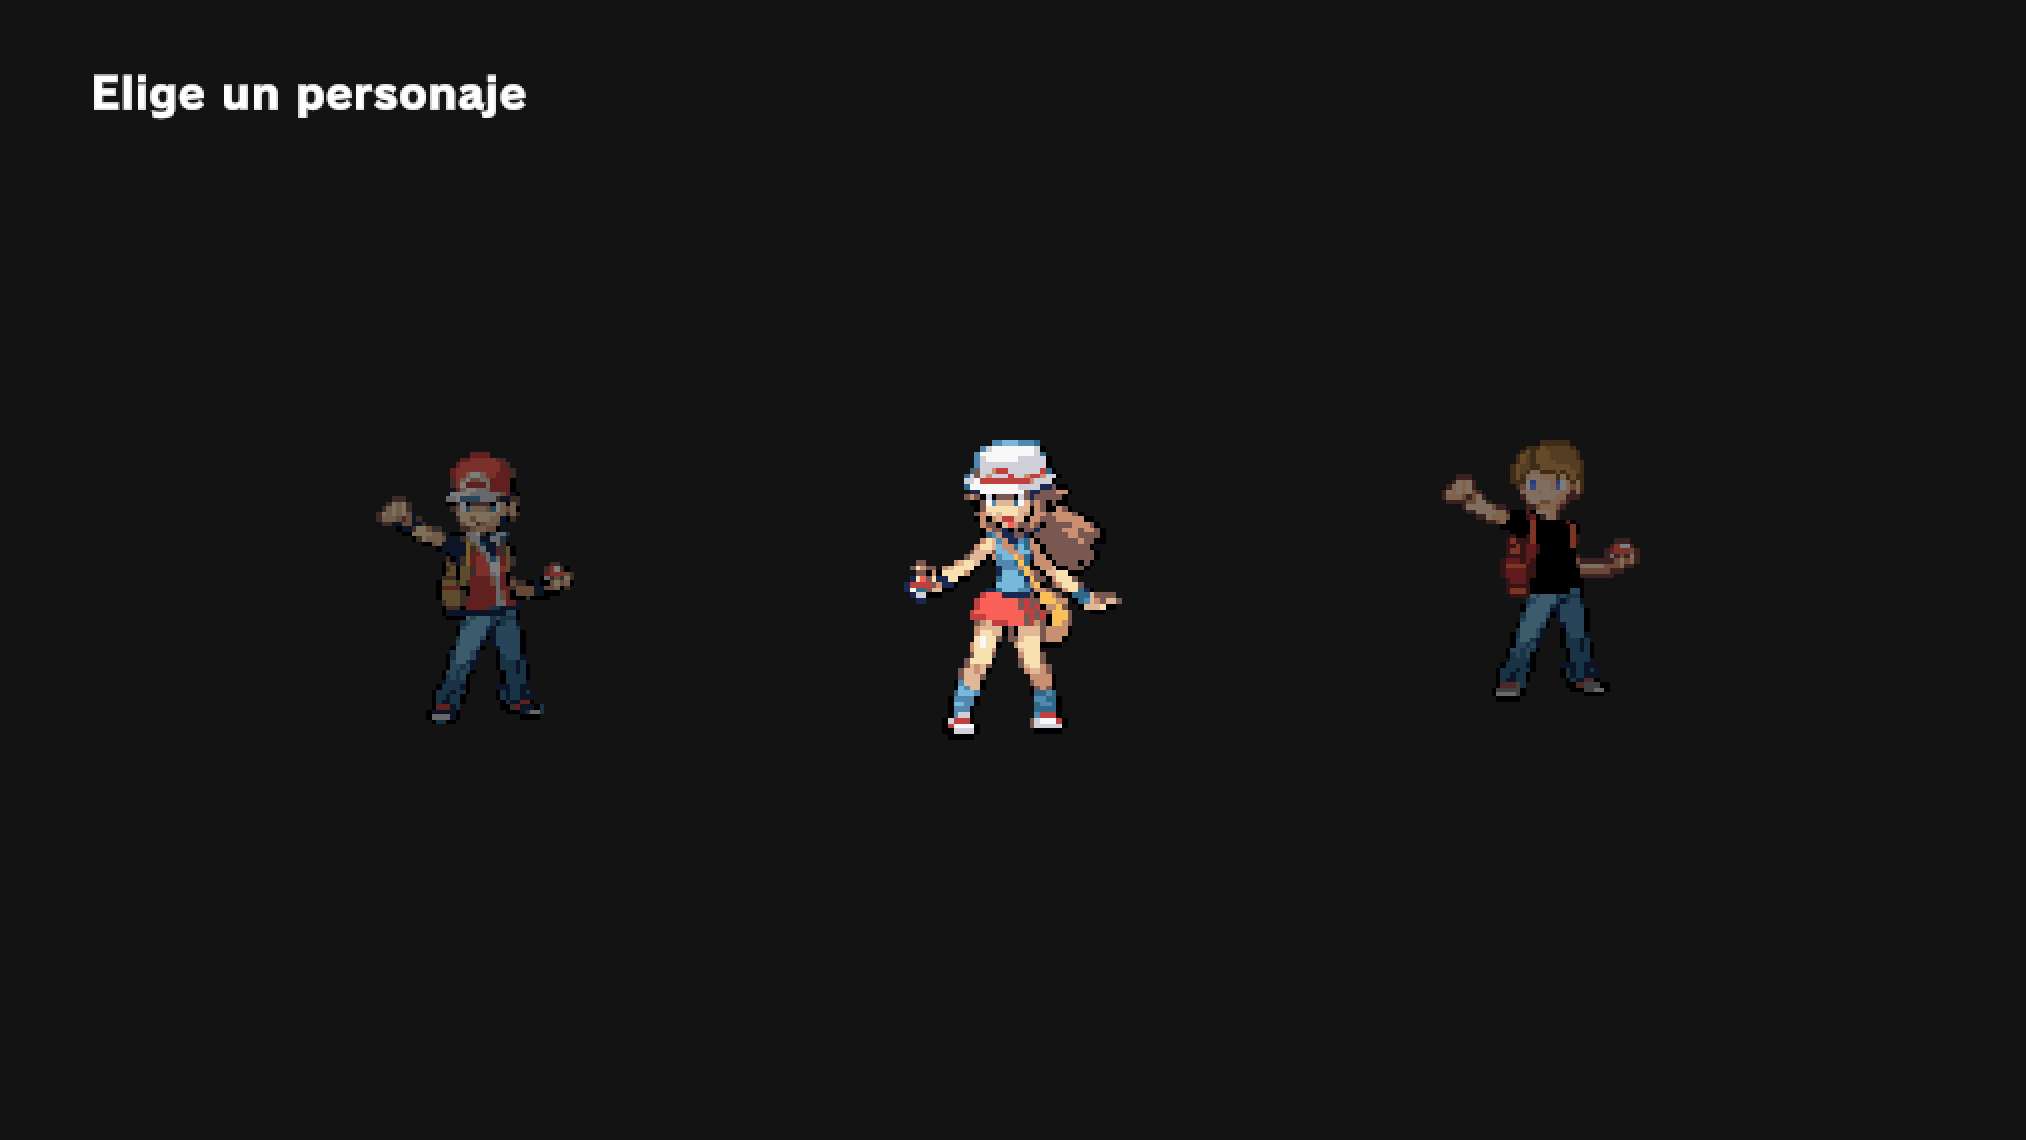
Pick the character. From here the game asks for a name and then hands you the overworld with control of the player.
4. Confirming the character
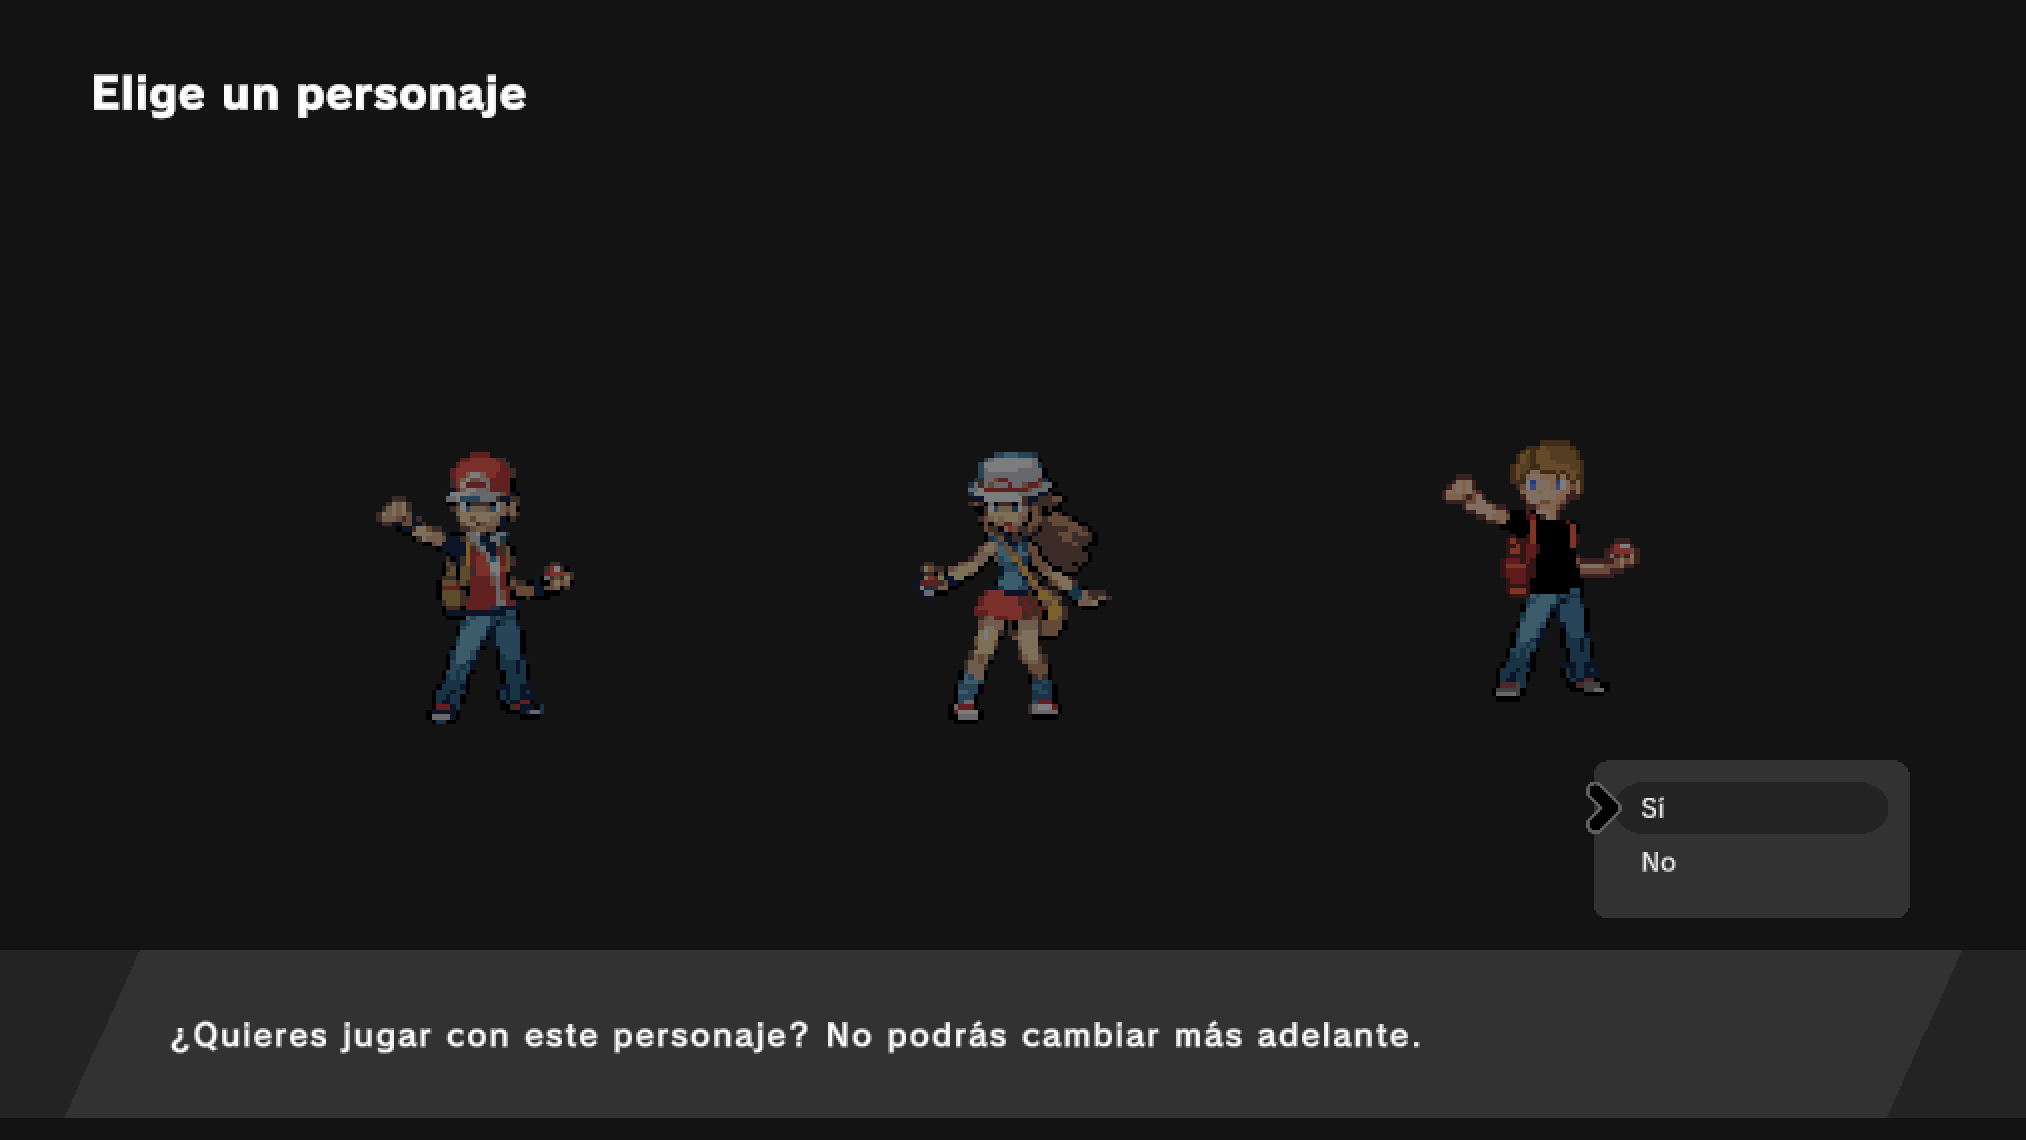
"¿Quieres jugar con este personaje? No podrás cambiar más adelante." — the choice is permanent, and the engine says so before committing rather than after.
5. Naming your character
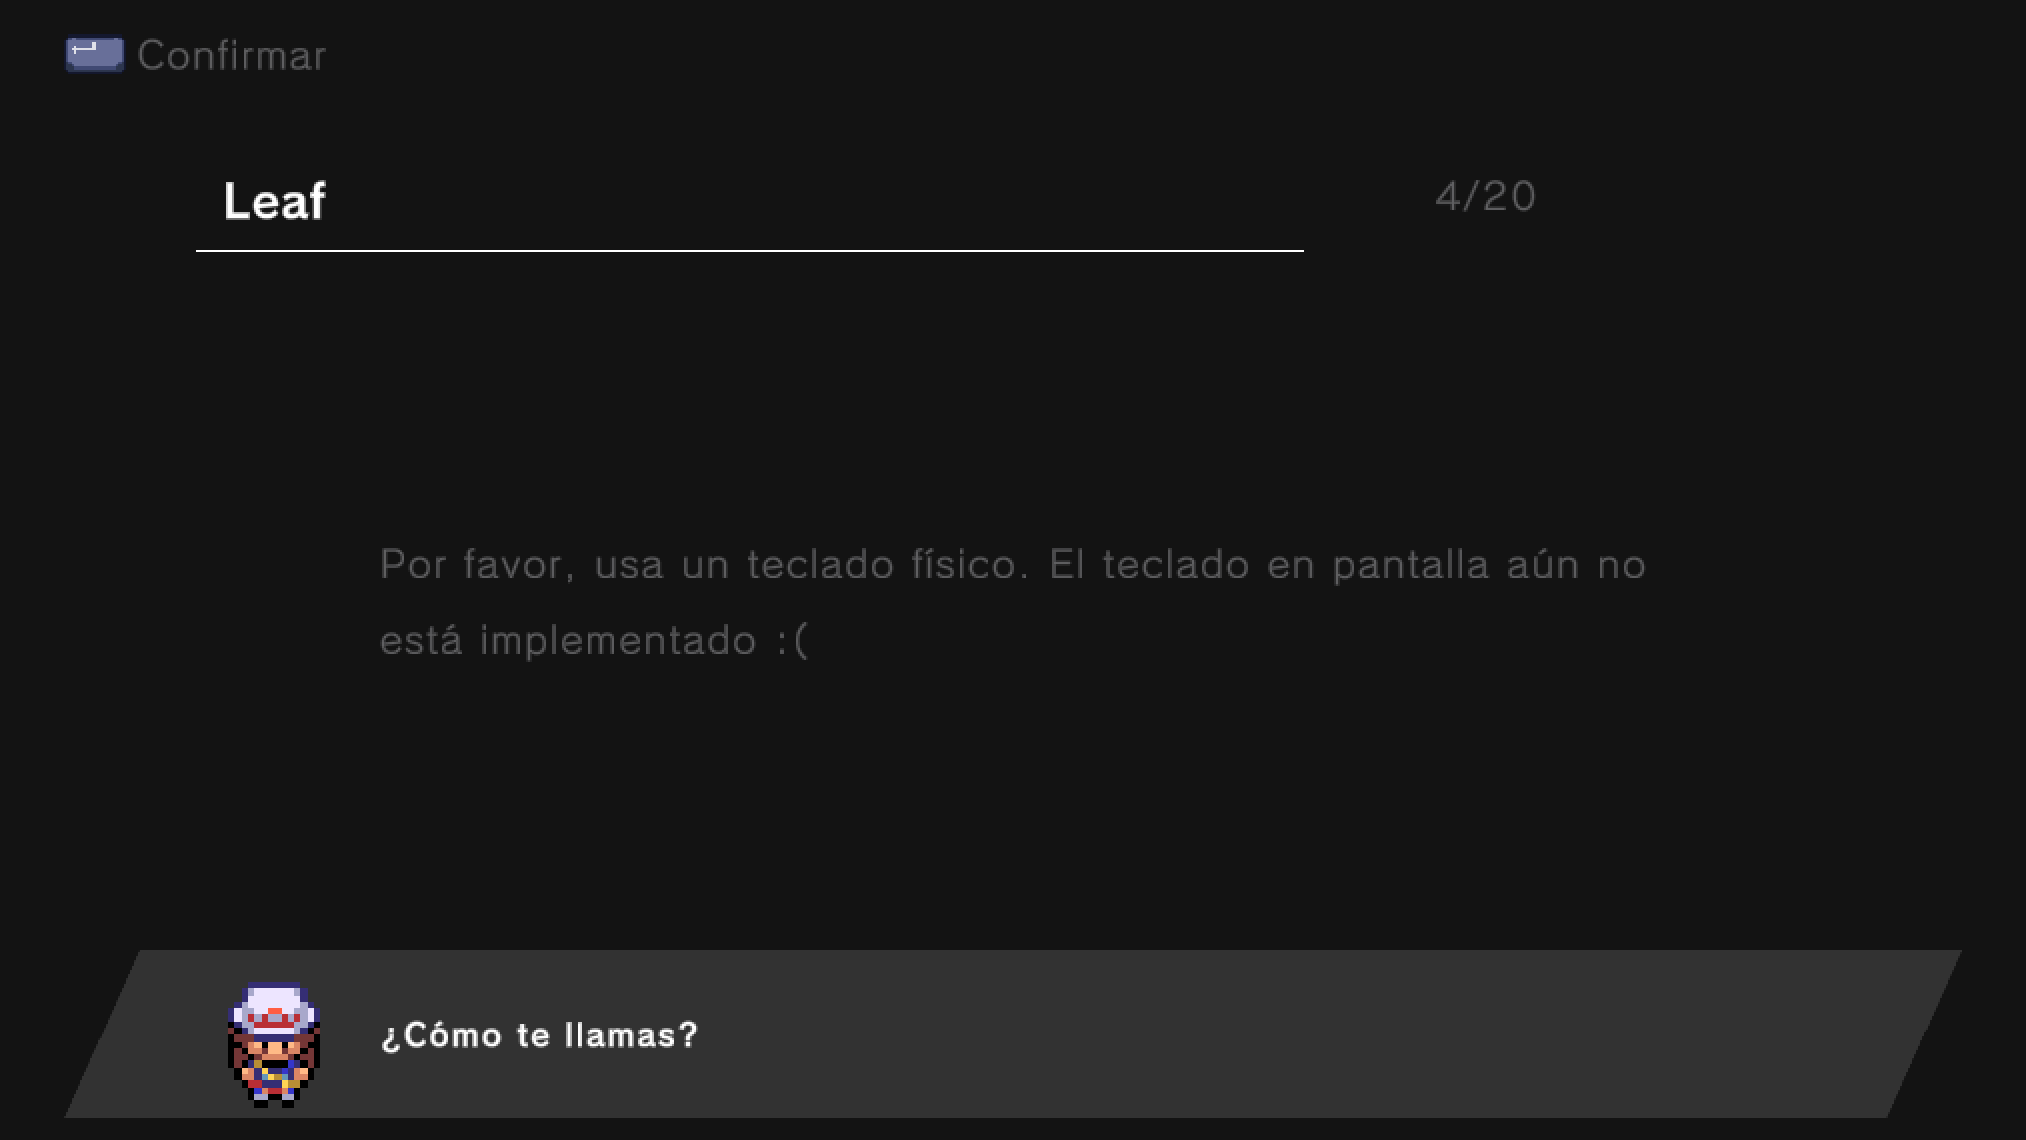
The screen says it outright: "Por favor, usa un teclado físico. El teclado [virtual] no está implementado." There is no on-screen keyboard, so a build without a hardware keyboard cannot get past this screen.
For anyone automating: this is a TextInputDialog, and it reads text input events, not the
action map. Synthetic key presses through an input injector do not reach it — they are simply
ignored, and the screen looks stuck while working correctly. Drive it through the dialog's
OnFinished(true, text) callback instead. The nickname prompt in step 7 is the same dialog and
behaves the same way.
6. The world loads, and the professor knows your name
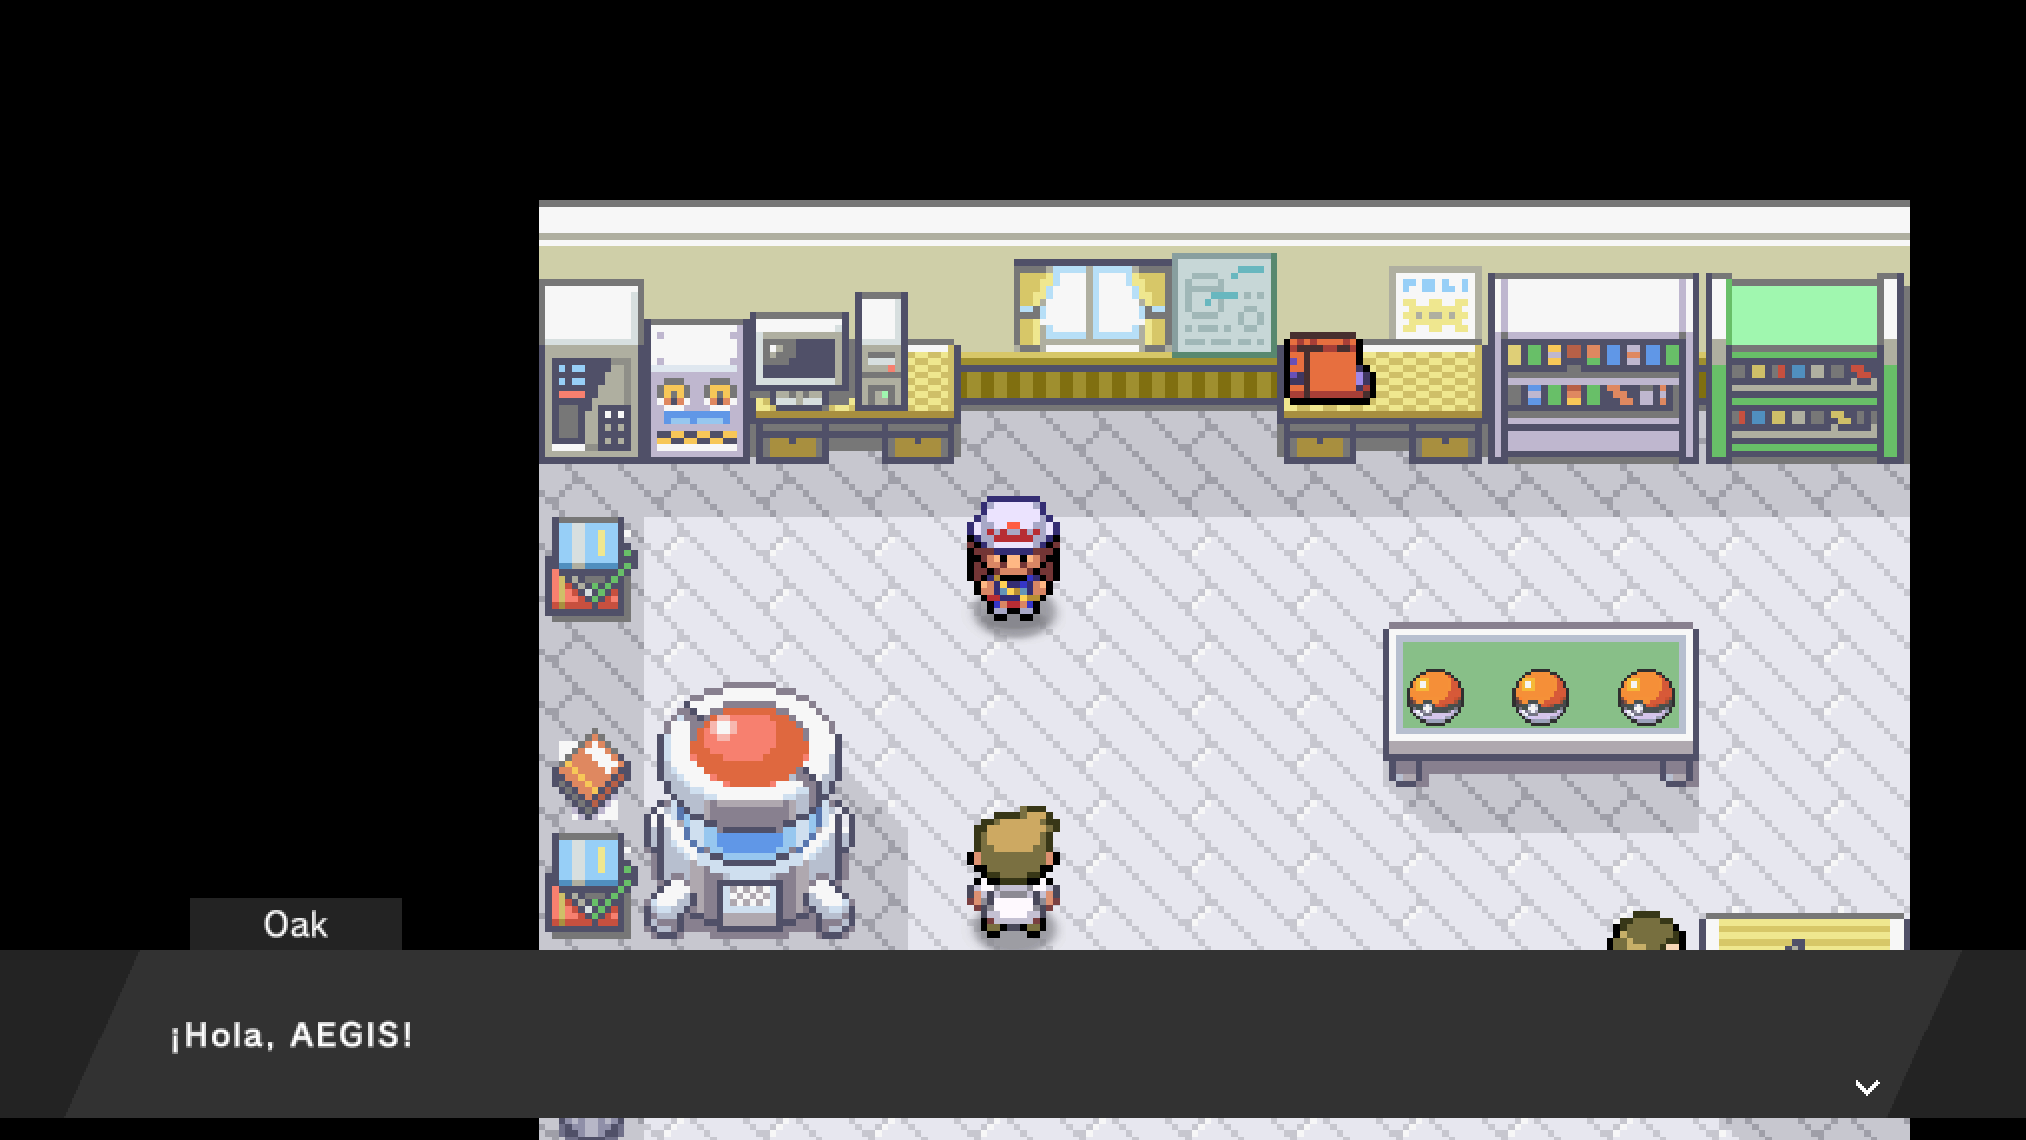
The player spawns in the lab and Oak opens with "¡Hola, AEGIS!" — the name from the previous
screen, threaded through into NPC dialogue. Reaching this frame means the save state, the world
grid and the CommandGraph NPC scripting are all live at once, so it is the single most useful
smoke test in the whole first run.
The three starters sit on the table as interactable actors. The lab exit is blocked until you take one, so there is no way to wander off half-started.
7. Choosing a starter
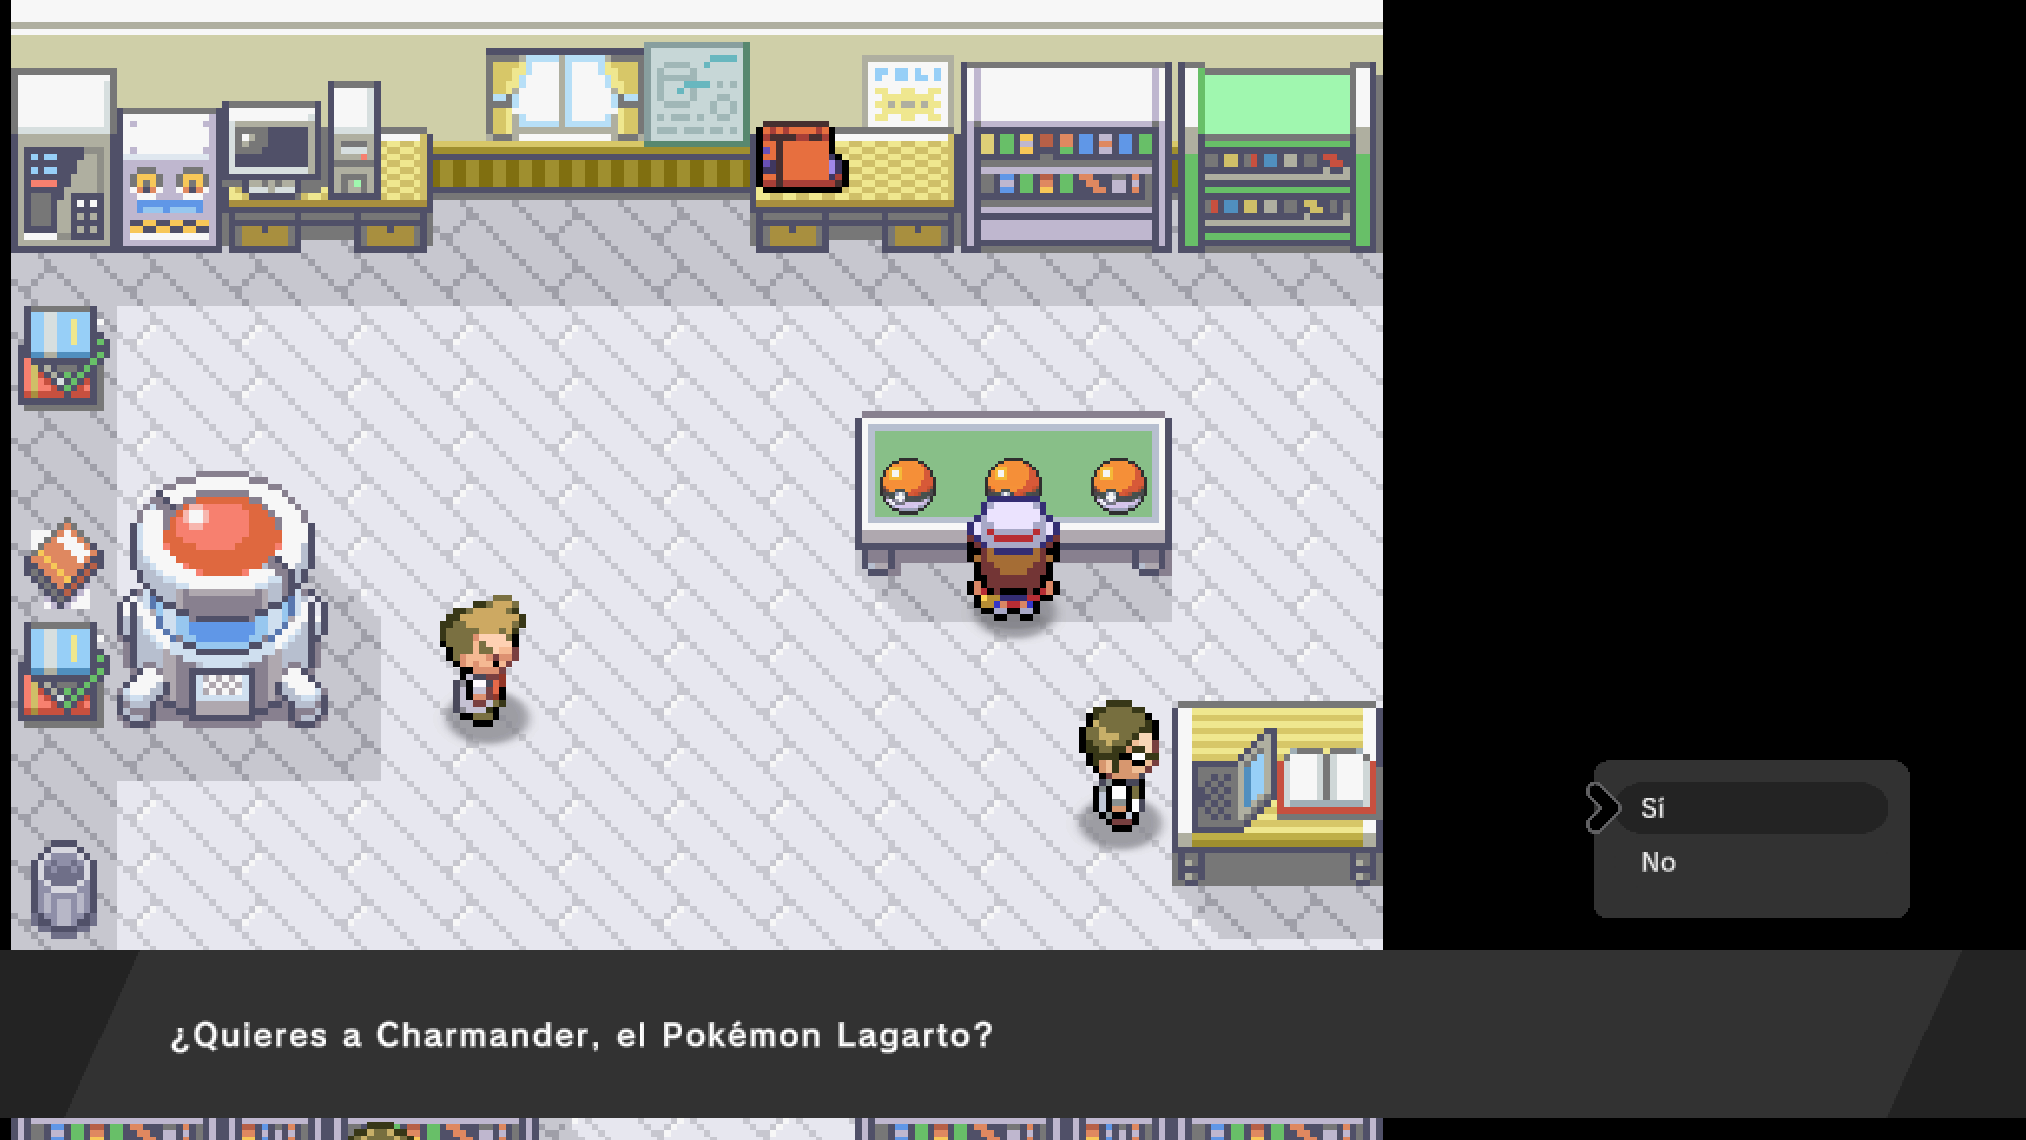
Walk up to one and interact. Each offer names the species and its category before you commit.
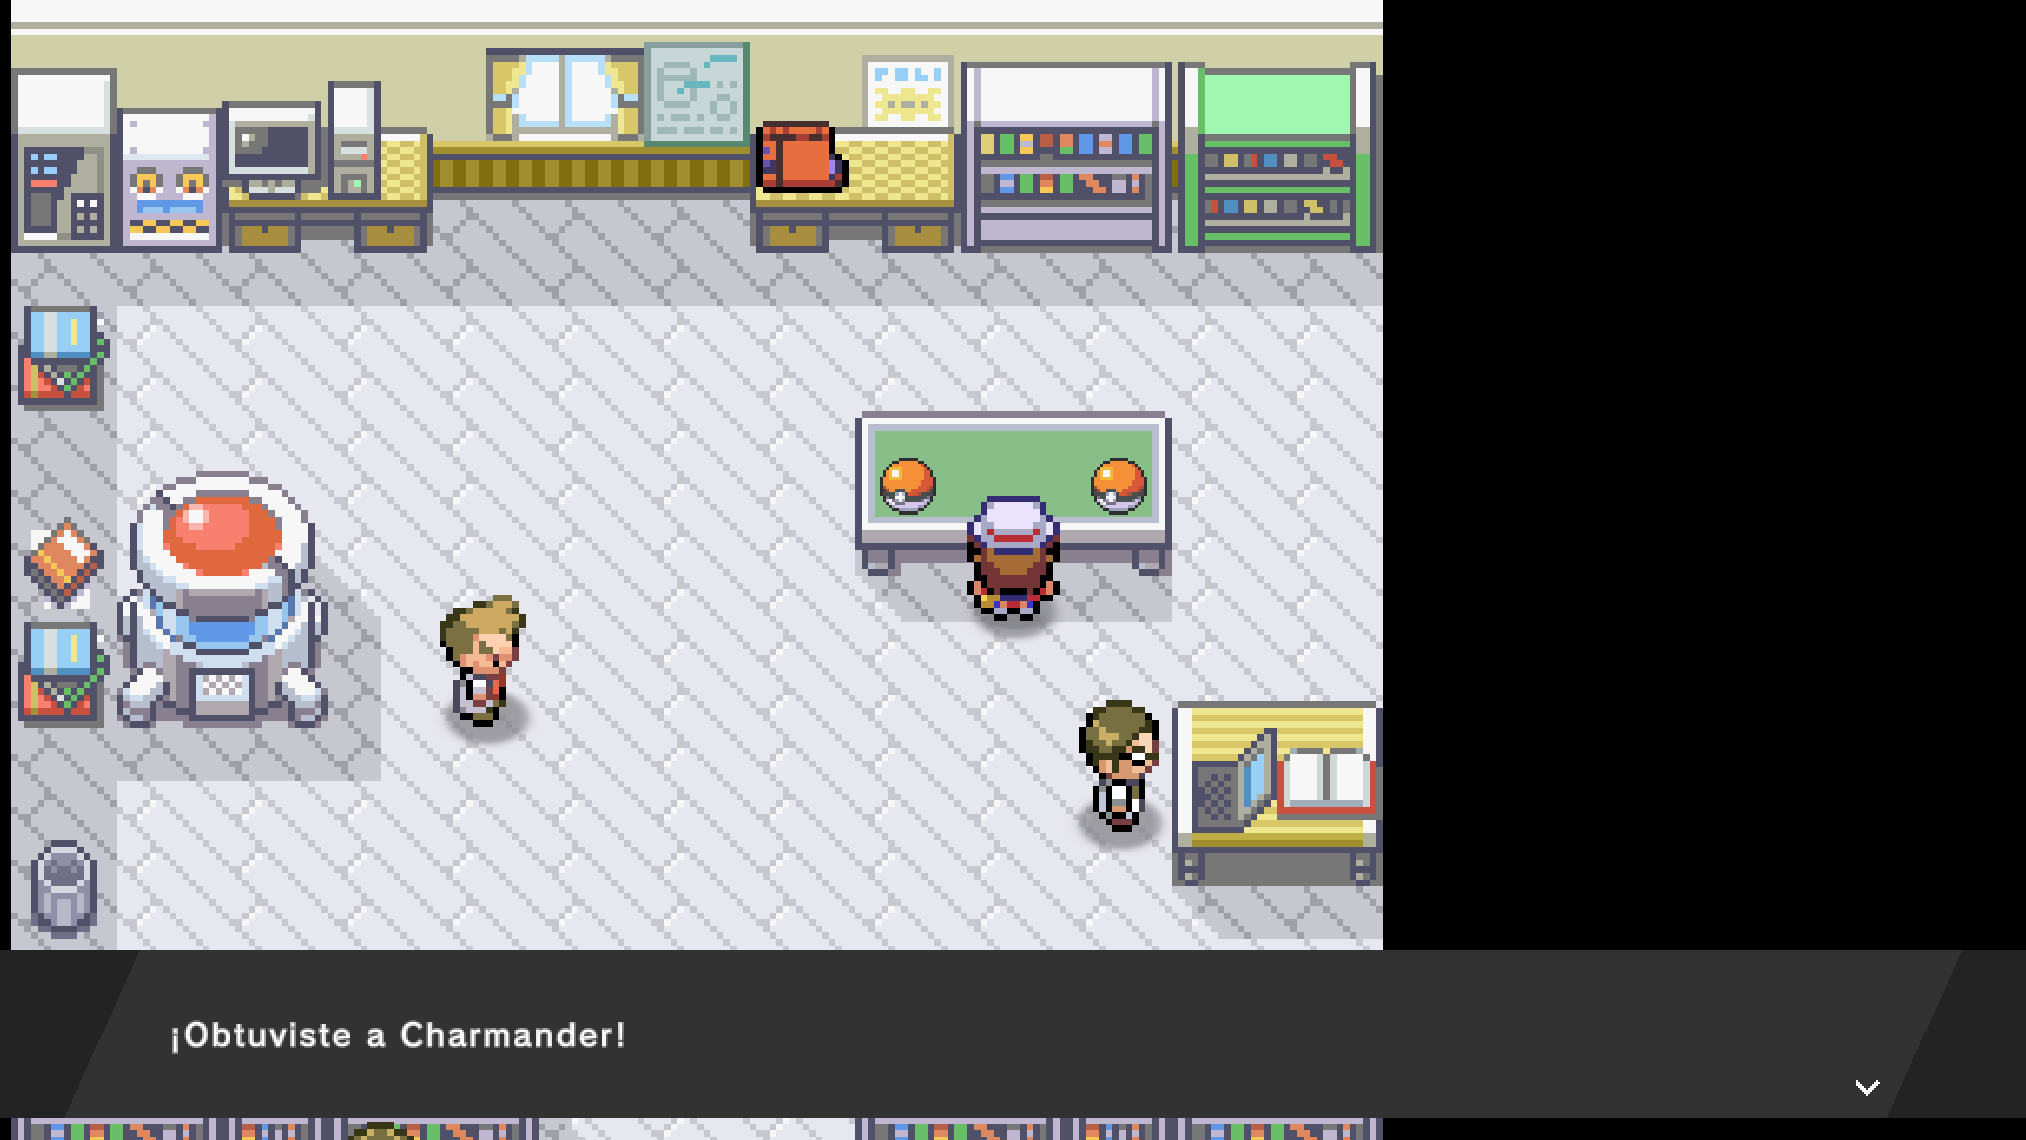
Then the nickname prompt — the same TextInputDialog as step 5, with the same physical-keyboard
requirement.
8. It joins the party
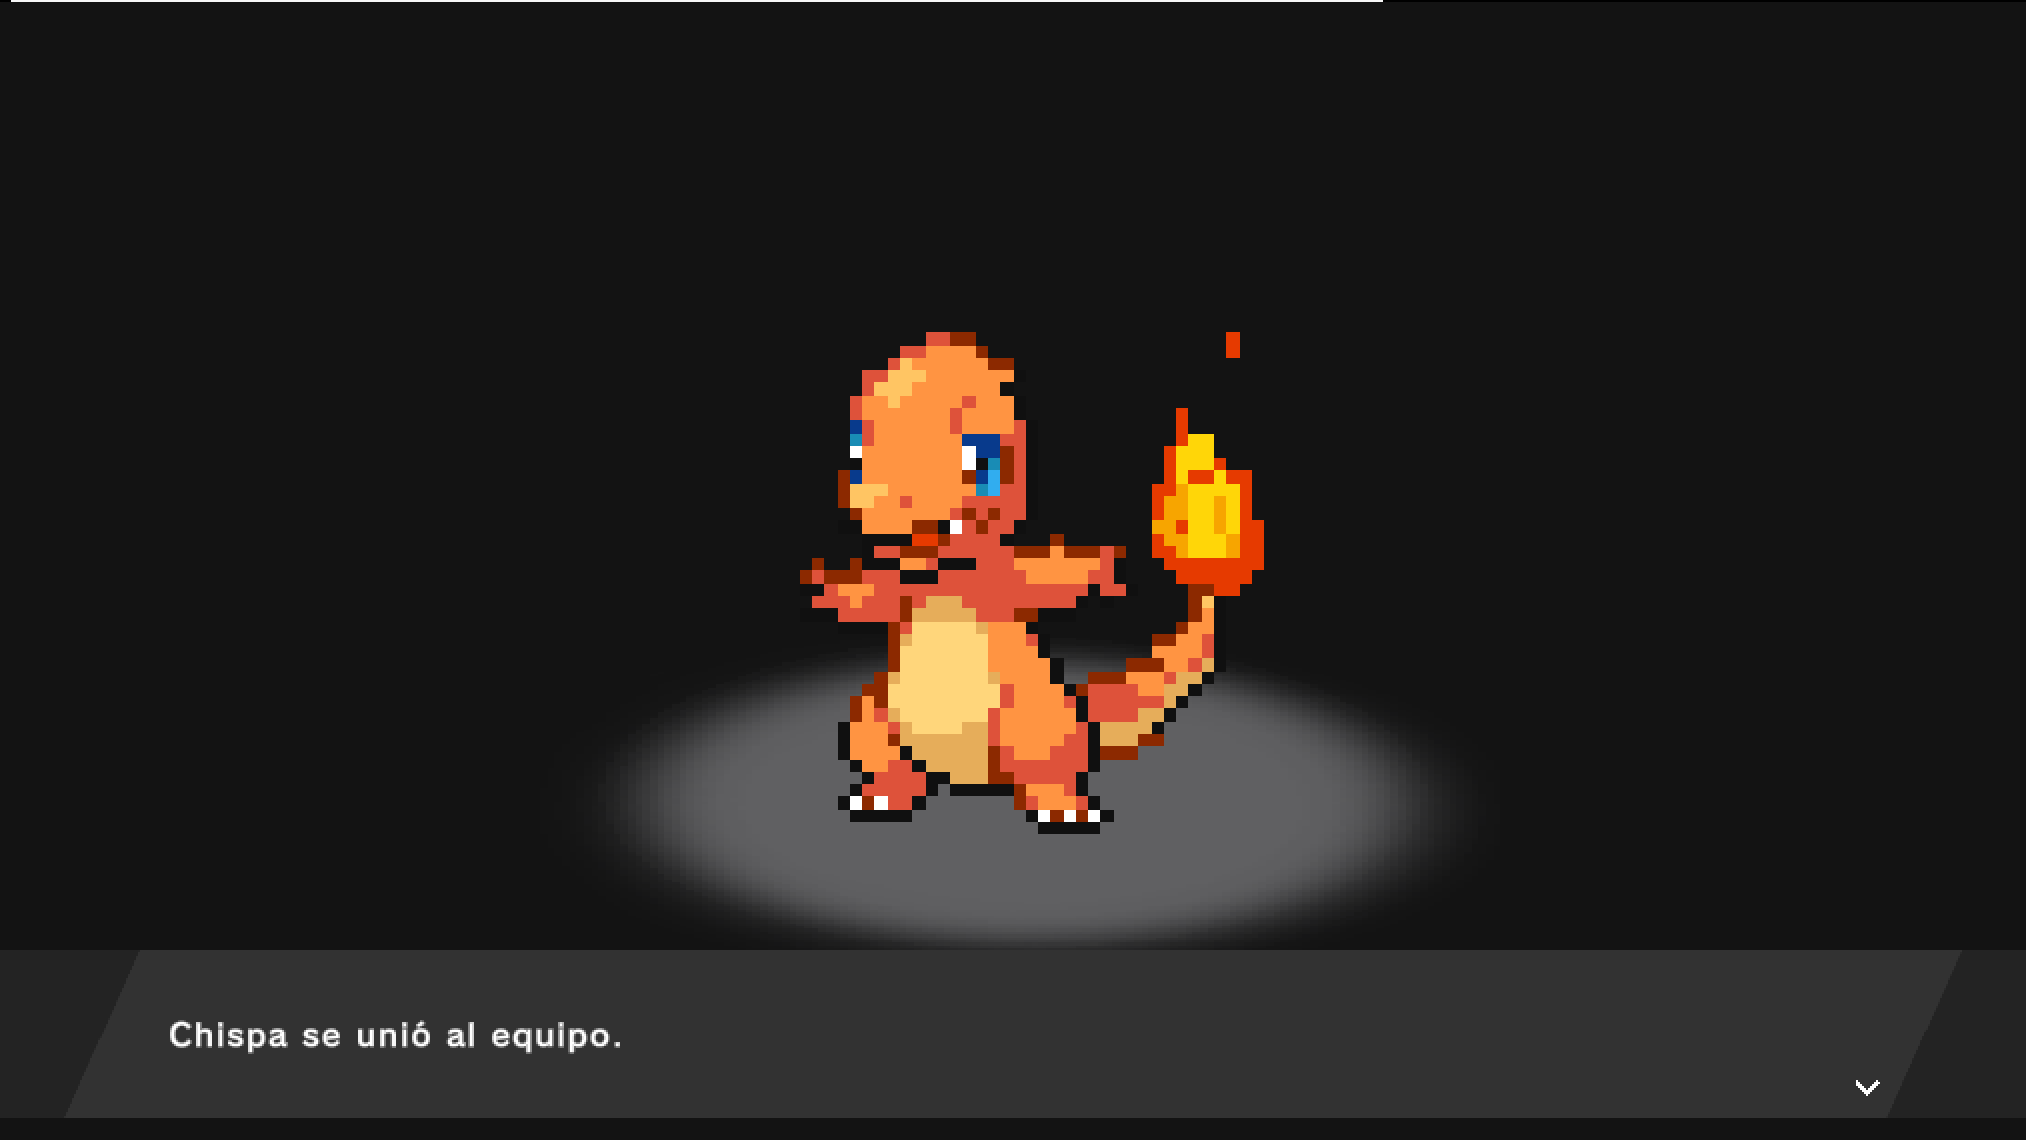
"Chispa se unió al equipo." Full-art presentation, and the monster is in your roster under the nickname you chose.
9. Out of the lab
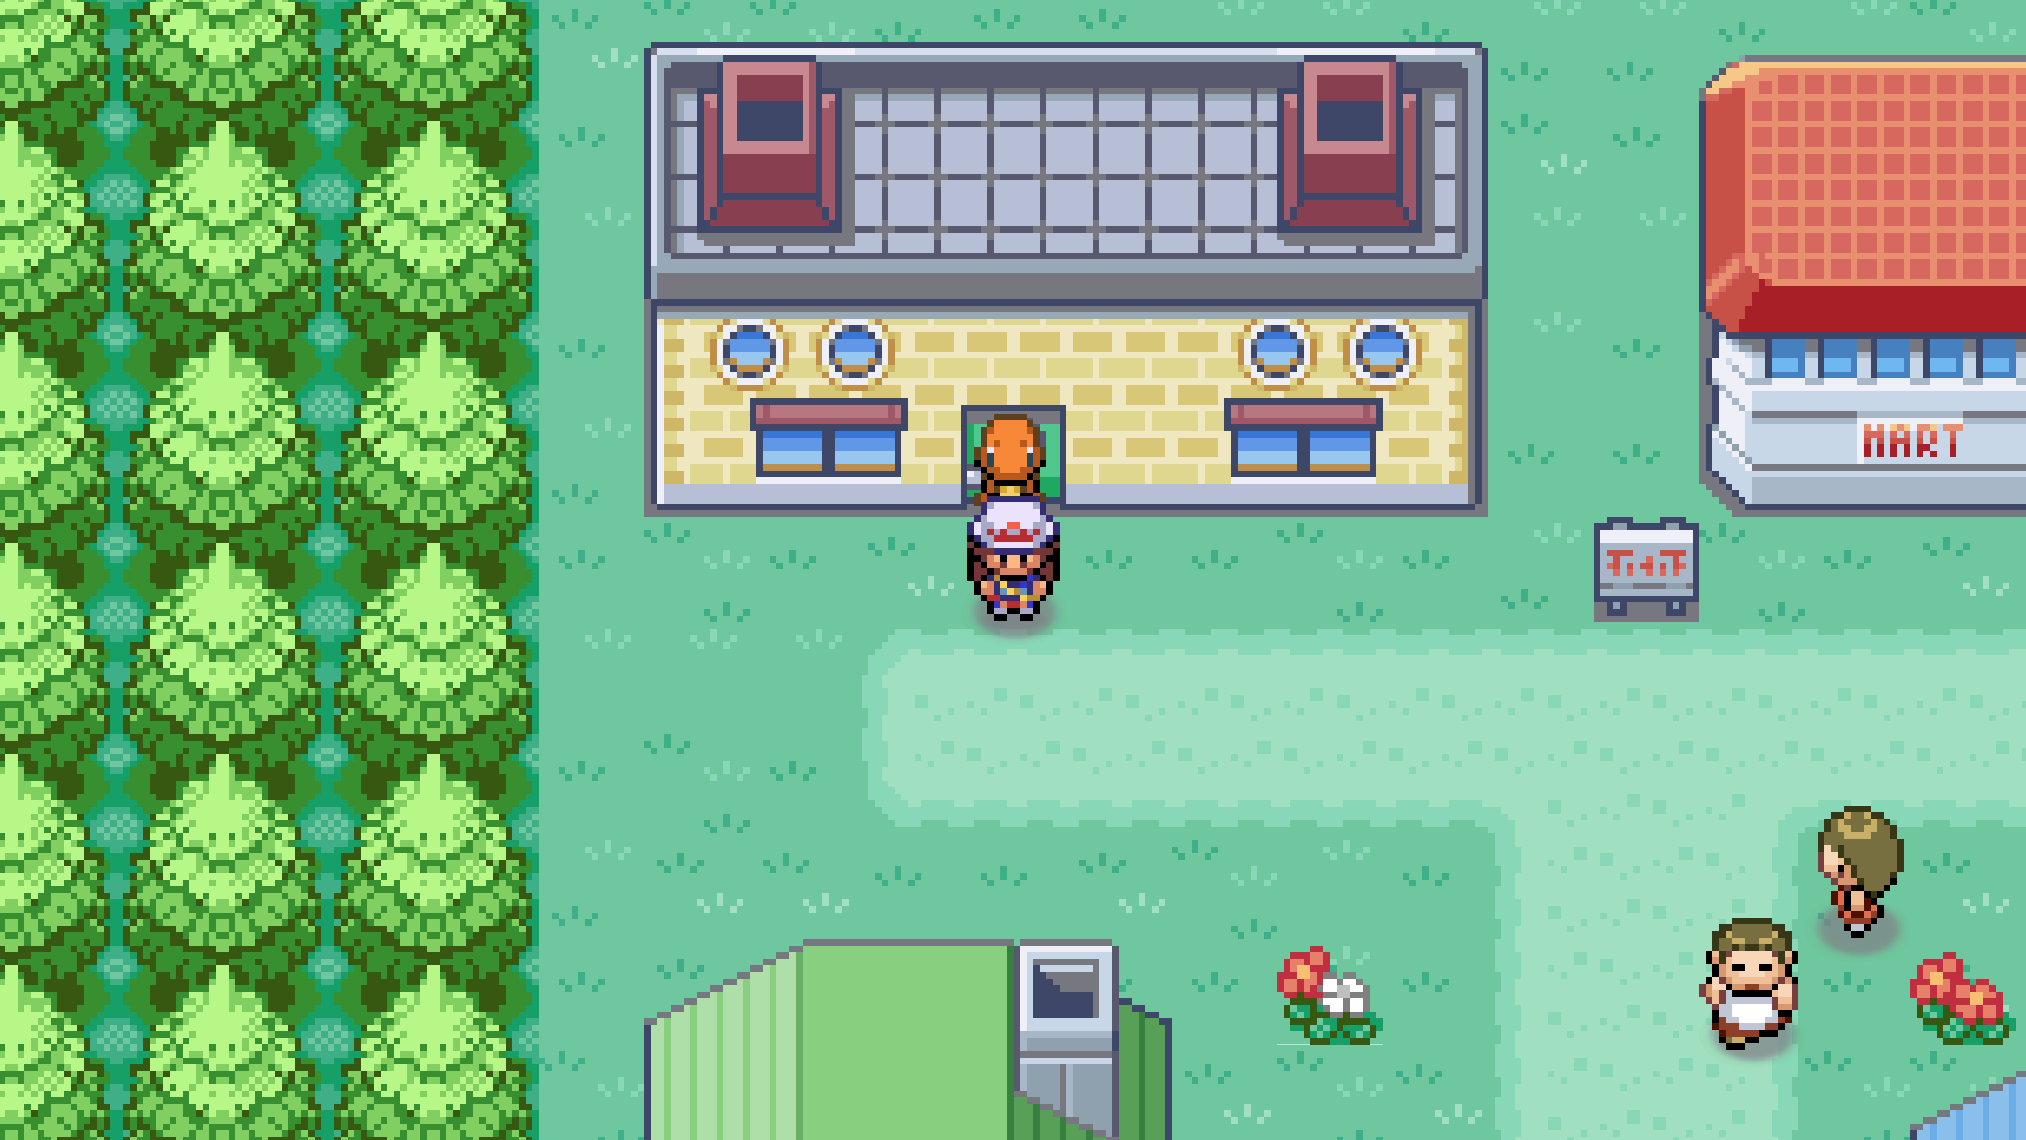
The lab exit unlocks once you hold a starter, and the village loads as a separate scene — the transition is a real scene load, so the player's tile position is briefly unknown while it happens. Wild grass is further out, on the routes; the village itself has no encounter tiles.
10. A wild battle
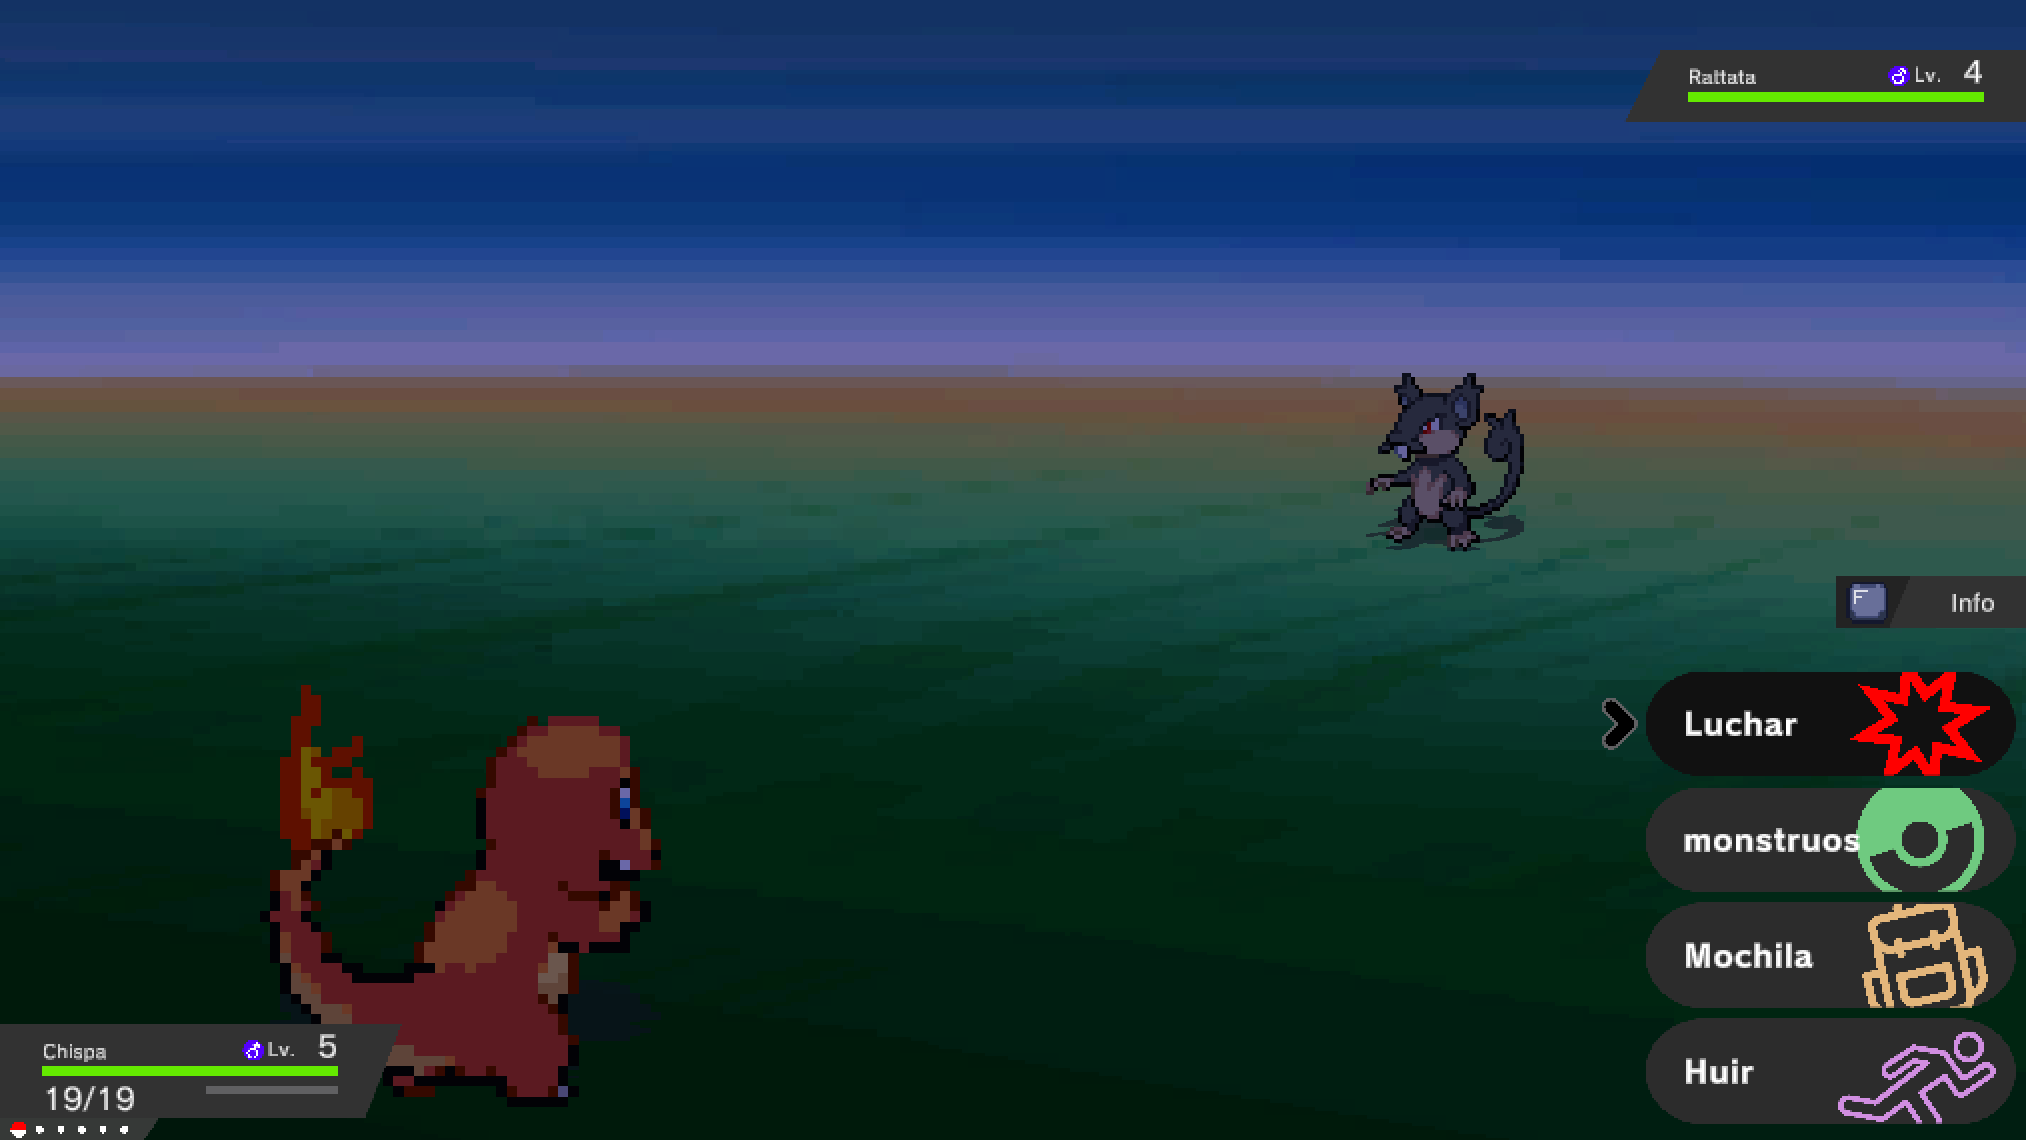
Walking the route triggers a wild encounter. The battle loads with your monster's back sprite, its nickname, level and HP bar — Chispa, Lv. 5, 19/19 here.
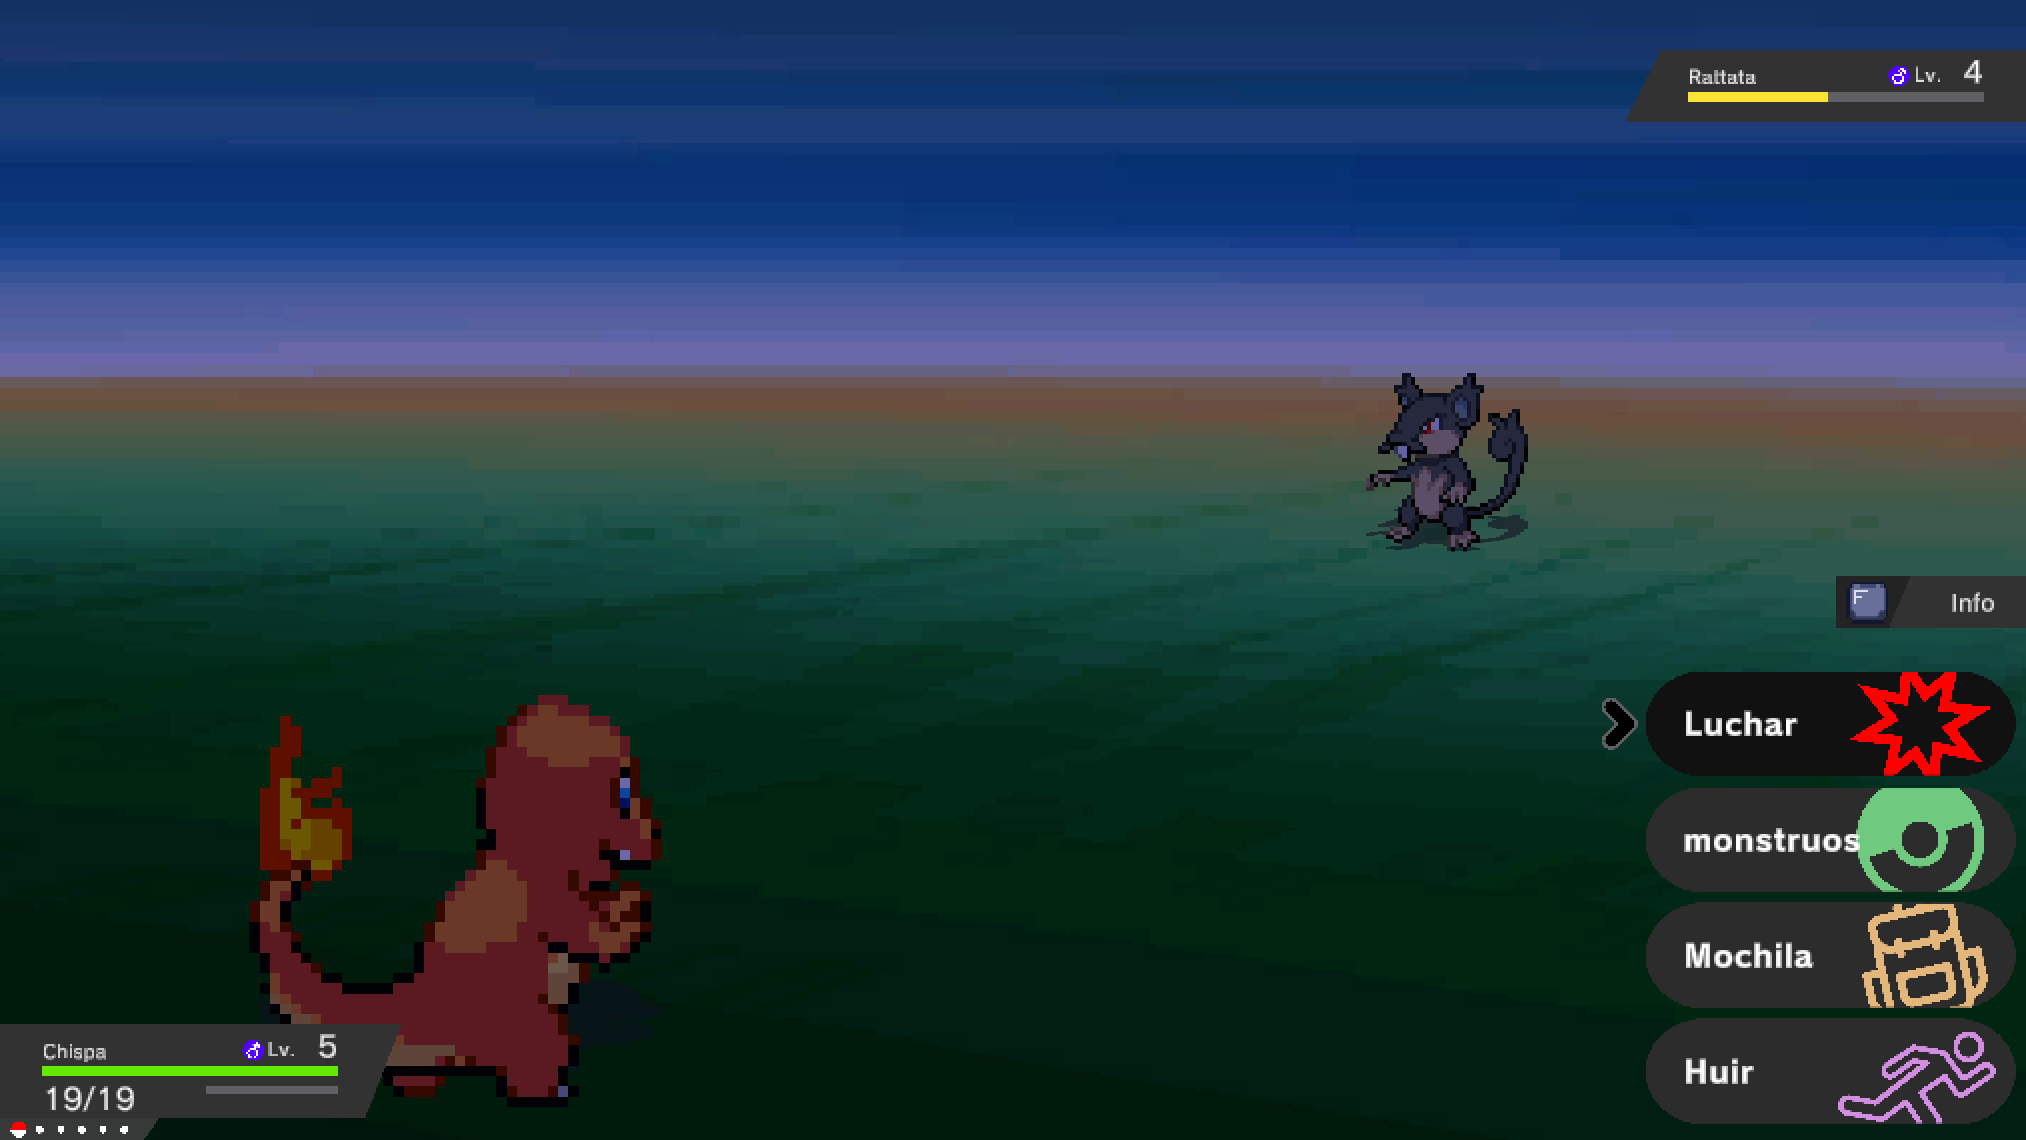
"¡Rattata usó Látigo!" — the turn resolves, the opposing move plays its animation, and the battle advances. The move animations run through the engine's own tweening layer, so this frame is also the end-to-end check that the animation system is live in combat and not only in menus.
11. Winning, and levelling up
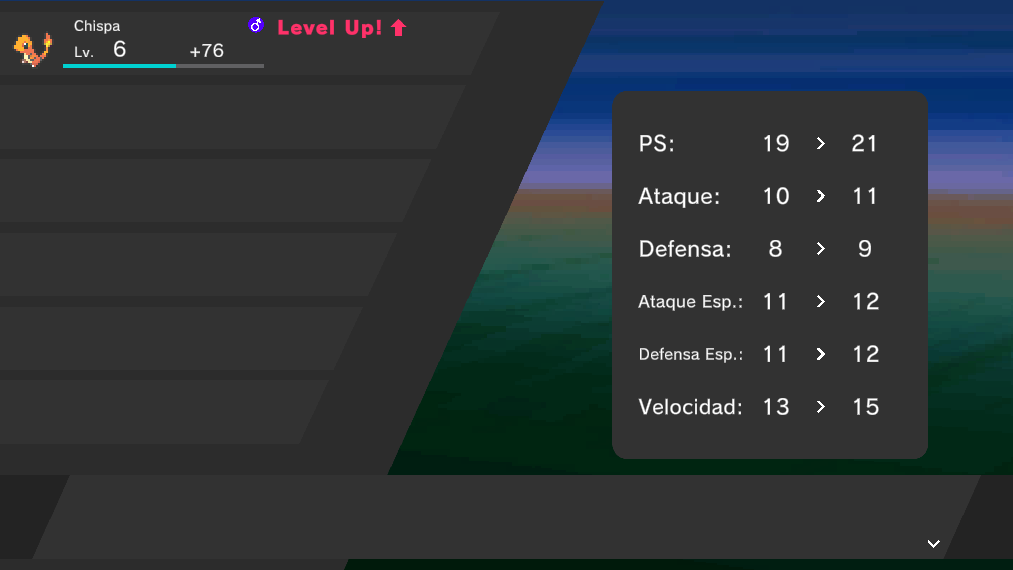
Choose Luchar, pick a move, and the turn plays out. Winning awards XP — +76 here — and a level brings the full stat panel: PS 19→21, Ataque 10→11, Defensa 8→9, both special stats 11→12, Velocidad 13→15. Chispa reaches Lv. 6.
The whole loop is visible in this one frame: move selection, damage resolution, XP, and the level-up presentation with its animated bars.
If you are automating: the harness helper that enumerates encounter regions returned an empty list on this map even though wild encounters trigger normally on it. Do not treat an empty result as "no grass here" — walk the route and watch for the battle instead.
Where this leaves you
Ten screens from pressing Play to a wild battle, with a named monster in your party. Two things are worth carrying forward:
- Open
InitScenebefore you press Play. Everything else behaves as it looks; this one does not, and it is the single most common false alarm. - Two of those screens are text fields, and both need a real keyboard. If you are writing automated tests for the first run, that is where they will silently stall.
Next
- The OpenMon Hub — the editor window behind every step above.
- Your first monster — the monster data model and the party.
- Your first battle — the battle loop and the move system.